
2021년 3월 26일 모바일 게임 매출 순위
| Rank | Game | Publisher |
|---|---|---|
| 1 | 리니지M | NCSOFT |
| 2 | 리니지2M | NCSOFT |
| 3 | Cookie Run: Kingdom – Kingdom Builder & Battle RPG | Devsisters Corporation |
| 4 | 기적의 검 | 4399 KOREA |
| 5 | V4 | NEXON Company |
| 6 | 삼국지 전략판 | Qookka Games |
| 7 | 원펀맨: 최강의 남자 | GAMENOW TECHNOLOGY |
| 8 | 리니지2 레볼루션 | Netmarble |
| 9 | 그랑사가 | NPIXEL |
| 10 | Genshin Impact | miHoYo Limited |
| 11 | 이카루스 이터널 | LINE Games |
| 12 | 라이즈 오브 킹덤즈 | LilithGames |
| 13 | 세븐나이츠2 | Netmarble |
| 14 | 바람의나라: 연 | NEXON Company |
| 15 | S.O.S:스테이트 오브 서바이벌 | KingsGroup Holdings |
| 16 | KartRider Rush+ | NEXON Company |
| 17 | 미르4 | Wemade Co., Ltd |
| 18 | A3: 스틸얼라이브 | Netmarble |
| 19 | PUBG MOBILE | KRAFTON, Inc. |
| 20 | R2M | Webzen Inc. |
| 21 | 블레이드&소울 레볼루션 | Netmarble |
| 22 | Roblox | Roblox Corporation |
| 23 | 뮤 아크엔젤 | Webzen Inc. |
| 24 | 메이플스토리M | NEXON Company |
| 25 | Brawl Stars | Supercell |
| 26 | 라그나로크 오리진 | GRAVITY Co., Ltd. |
| 27 | FIFA ONLINE 4 M by EA SPORTS™ | NEXON Company |
| 28 | 검은강호2: 이터널 소울 | 9SplayDeveloper |
| 29 | Age of Z Origins | Camel Games Limited |
| 30 | Gardenscapes | Playrix |
| 31 | Pmang Poker : Casino Royal | NEOWIZ corp |
| 32 | AFK 아레나 | LilithGames |
| 33 | 찐삼국 | ICEBIRD GAMES |
| 34 | Top War: Battle Game | Topwar Studio |
| 35 | Lords Mobile: Kingdom Wars | IGG.COM |
| 36 | 갑부: 장사의 시대 | BLANCOZONE NETWORK KOREA |
| 37 | Homescapes | Playrix |
| 38 | FIFA Mobile | NEXON Company |
| 39 | 한게임 포커 | NHN BIGFOOT |
| 40 | 달빛조각사 | Kakao Games Corp. |
| 41 | Epic Seven | Smilegate Megaport |
| 42 | 에오스 레드 | BluePotion Games |
| 43 | Mafia City | YottaGame |
| 44 | Gunship Battle Total Warfare | JOYCITY Corp. |
| 45 | 그랑삼국 | YOUZU(SINGAPORE)PTE.LTD. |
| 46 | 황제라 칭하라 | Clicktouch Co., Ltd. |
| 47 | Cookie Run: OvenBreak – Endless Running Platformer | Devsisters Corporation |
| 48 | 컴투스프로야구2021 | Com2uS |
| 49 | 가디언 테일즈 | Kakao Games Corp. |
| 50 | 프린세스 커넥트! Re:Dive | Kakao Games Corp. |
How to efficiently re-partition Spark DataFrames -번역
Spark DataFrames를 효율적으로 다시 파티션하는 방법
스파크 데이터 프레임의 수를 늘리거나 줄이는 방법
Apache Spark는 합리적인 시간에 엄청난 양의 데이터를 사용할 수있는 프레임 워크입니다.이 통합 엔진의 효율성은 데이터 컬렉션을 통해 수행 된 작업을 배포하고 평행하는 기능에 대단히 의존합니다.
이 기사에서는 스파크로 파티션을 도입하고 데이터 프레임을 다시 파티션하는 방법을 설명합니다.또한 실행 시간을 최대한 많이 최적화하기 위해 스파크 데이터 프레임의 파티션 수를 증가 시키거나 감소시킬 가치가있는 경우에도 논의 할 것입니다.
간단한 분할 분할
순서대로 순서대로 높은 병렬 처리를 달성하기 위해 스파크는 스파크 클러스터의 다른 노드에 분산 된 파티션이라는 파티션이라는 작은 청크로 데이터를 분리합니다.모든 노드는 두 가지 이상의 실행 프로그램이 작업을 실행할 수 있습니다.
여러 실행 업체에 대한 작업 분포는 특정 작업에 대한 데이터 처리를 최적화하기 위해 데이터 처리를 병렬로 수행 할 수 있도록 데이터를 병렬로 수행 할 수 있도록 데이터를 병렬로 수행 할 수 있습니다.
현재 파티션 수를 얻는 방법
다시 파티셔닝으로 점프하기 전에 스파크 데이터 프레임의 현재 파티션 수를 얻는 데 사용할 수있는 방법을 설명 할 가치가 있습니다.예를 들어, 우리가 다음과 같은 최소한의 점화 데이터를 가지고 있다고 가정 해 봅시다.
위의 데이터 프레임의 파티션 수를 얻으려면 다음을 수행해야합니다.
출력은 현재 설정 및 구성에 의존하여 다른 출력을 볼 수 있습니다.
파티션 수를 늘리는 방법
데이터 프레임의 파티션을 늘리려면 다음을 수행해야합니다.재진입 ()함수.
새로운 것을 반환합니다
데이터 프레임지정된 분할 식별로 분할됩니다.결과 데이터 프레임은 해시 분할됩니다.
아래 코드는 파티션 수를 1000으로 증가시킵니다.
파티션 수를 줄이는 방법
이제 파티션이 줄어들 수 있도록 Spark DataFrame을 다시 확인하려면 여전히 사용할 수 있습니다.재진입 ()하나,그렇게 할 수있는보다 효율적인 방법이 있습니다.
합병 ()좁은 의존성이 좁아 지므로 파티션 수를 줄이는 데 사용될 때는셔플 없음,아마도 아마도 스파크에서 가장 비용이 많이 드는 작업 중 하나 일 것입니다.
새로운 것을 반환합니다
데이터 프레임그건 정확히 n 개의 파티션이 있습니다.
아래 예에서 우리는 파티션을 100으로 제한합니다. 원래 1000 개의 파티션이있는 Spark DataFrame은 셔플없이 100 개의 파티션으로 해결됩니다.우리는 그것을 의미하지 않습니다각 100 개의 새로운 파티션이 10 개의 기존 파티션에 할당됩니다.…에그러므로 그것은 더 효율적으로 전화하는 것이 더 효율적입니다합병 ()하나가 Spark DataFrame의 파티션 수를 줄이려면.
결론
이 기사에서는 스파크 클러스터의 실행 업체에 작업을 수행 할 수있는 파티션을 통해 데이터 처리가 어떻게 최적화되는지 논의했습니다.또한 데이터 프레임의 파티션 수를 늘리거나 줄이기 위해 사용할 수있는 두 가지 가능한 방법을 탐색했습니다.
재진입 ()Spark DataFrame의 파티션 수를 증가 또는 감소시키는 데 사용할 수 있습니다.하나,재진입 ()비용이 많이 드는 작업 인 셔플 링이 포함됩니다.
다른 한편으로,합병 ()이 메소드가 스파크 클러스터의 노드를 가로 질러 데이터를 섞지 않을 것이라는 사실 때문에이 방법으로 인해 파티션 수를 줄이려면 사용할 수 있습니다.
How to efficiently re-partition Spark DataFrames
How to efficiently re-partition Spark DataFrames
How to increase or decrease the number of a Spark DataFrame
Apache Spark is a framework that enables the process of enormous amount of data in a reasonable amount of time. The efficiency of this unified engine is hugely dependent on its ability to distribute and parallelise the work performed over a collection of data.
In this article, we are going to introduce partitions in Spark and also explain how to re-partition DataFrames. Additionally, we will also discuss when it is worth increasing or decreasing the number of partitions of Spark DataFrames in order to optimise the execution time as much as possible.
Spark Partitioning in a nutshell
In order to achieve high parallelism, Spark will split the data into smaller chunks called partitions which are distributed across different nodes in the Spark Cluster. Every node, can have more than one executor each of which can execute a task.
The distribution of the work into multiple executors requires data to be partitioned and distributed across the executors, so that the work can be done in parallel in order to optimise the data processing for a specific job.
How to get current number of partitions
Before jumping into re-partitioning, it is worth describing the way one can use to get the current number of partitions of a Spark DataFrame. As an example, let’s assume that we have the following minimal Spark DataFrame
In order to get the number of partitions of the above dataframe, all we have to do is run the following
Note that the output is dependent to your current setup and configuration so you might see a different output.
How to increase the number of partitions
If you want to increase the partitions of your DataFrame, all you need to run is the repartition() function.
Returns a new
DataFramepartitioned by the given partitioning expressions. The resulting DataFrame is hash partitioned.
The code below will increase the number of partitions to 1000:
How to decrease the number of partitions
Now if you want to repartition your Spark DataFrame so that it has fewer partitions, you can still use repartition() however, there’s a more efficient way to do so.
coalesce() results in a narrow dependency, which means that when used for reducing the number of partitions, there will be no shuffle, which is probably one of the most costly operations in Spark.
Returns a new
DataFramethat has exactly N partitions.
In the example below we limit our partitions to 100. The Spark DataFrame that originally has 1000 partitions, will be repartitioned to 100 partitions without shuffling. By no shuffling we mean that each the 100 new partitions will be assigned to 10 existing partitions. Therefore, it is way more efficient to call coalesce() when one wants to reduce the number of partitions of a Spark DataFrame.
Conclusion
In this article we discussed how data processing is optimised through partitions that allow the work to be distributed across the executors of a Spark Cluster. Additionally, we also explored the two possible ways one can use in order to increase or decrease the number of partitions in DataFrames.
repartition() can be used for increasing or decreasing the number of partitions of a Spark DataFrame. However, repartition() involves shuffling which is a costly operation.
On the other hand, coalesce() can be used when we want to reduce the number of partitions as this is more efficient due to the fact that this method won’t trigger data shuffling across the nodes of the Spark Cluster.
2021년 3월 26일 용인시 부동산 경매 데이터 분석
경기도 용인시 기흥구 용구대로2152번길 18, 나동 5층509호 [집합건물 철근콘크리트조 50.17㎡]
| 항목 | 값 |
|---|---|
| 경매번호 | 2020타경68822 |
| 경매날짜 | 2021.04.09 |
| 법원 | 수원지방법원 |
| 담당 | 경매13계 |
| 감정평가금액 | 150,000,000 |
| 경매가 | 150,000,000(100%) |
| 유찰여부 | 신건 |
- 대지권 미등기이나 매각목적물 및 평가에 포함됨. ‘나동’은 ‘102동’으로 표시되어 있음.
<최근 1년 실거래가 정보>
– 총 거래 수: 0건
– 동일 평수 거래 수: 0건
2021년 3월 25일 모바일 게임 매출 순위
| Rank | Game | Publisher |
|---|---|---|
| 1 | 리니지M | NCSOFT |
| 2 | 리니지2M | NCSOFT |
| 3 | Cookie Run: Kingdom – Kingdom Builder & Battle RPG | Devsisters Corporation |
| 4 | 기적의 검 | 4399 KOREA |
| 5 | 삼국지 전략판 | Qookka Games |
| 6 | Genshin Impact | miHoYo Limited |
| 7 | 원펀맨: 최강의 남자 | GAMENOW TECHNOLOGY |
| 8 | V4 | NEXON Company |
| 9 | 리니지2 레볼루션 | Netmarble |
| 10 | 그랑사가 | NPIXEL |
| 11 | 이카루스 이터널 | LINE Games |
| 12 | 라이즈 오브 킹덤즈 | LilithGames |
| 13 | 세븐나이츠2 | Netmarble |
| 14 | A3: 스틸얼라이브 | Netmarble |
| 15 | 뮤 아크엔젤 | Webzen Inc. |
| 16 | 미르4 | Wemade Co., Ltd |
| 17 | 바람의나라: 연 | NEXON Company |
| 18 | S.O.S:스테이트 오브 서바이벌 | KingsGroup Holdings |
| 19 | KartRider Rush+ | NEXON Company |
| 20 | PUBG MOBILE | KRAFTON, Inc. |
| 21 | R2M | Webzen Inc. |
| 22 | 블레이드&소울 레볼루션 | Netmarble |
| 23 | Roblox | Roblox Corporation |
| 24 | 메이플스토리M | NEXON Company |
| 25 | Brawl Stars | Supercell |
| 26 | FIFA ONLINE 4 M by EA SPORTS™ | NEXON Company |
| 27 | 검은강호2: 이터널 소울 | 9SplayDeveloper |
| 28 | Gardenscapes | Playrix |
| 29 | 라그나로크 오리진 | GRAVITY Co., Ltd. |
| 30 | Age of Z Origins | Camel Games Limited |
| 31 | Pmang Poker : Casino Royal | NEOWIZ corp |
| 32 | AFK 아레나 | LilithGames |
| 33 | 찐삼국 | ICEBIRD GAMES |
| 34 | Top War: Battle Game | Topwar Studio |
| 35 | Lords Mobile: Kingdom Wars | IGG.COM |
| 36 | Homescapes | Playrix |
| 37 | 갑부: 장사의 시대 | BLANCOZONE NETWORK KOREA |
| 38 | FIFA Mobile | NEXON Company |
| 39 | 한게임 포커 | NHN BIGFOOT |
| 40 | 카운터사이드 | NEXON Company |
| 41 | 달빛조각사 | Kakao Games Corp. |
| 42 | Cookie Run: OvenBreak – Endless Running Platformer | Devsisters Corporation |
| 43 | Epic Seven | Smilegate Megaport |
| 44 | 에오스 레드 | BluePotion Games |
| 45 | Mafia City | YottaGame |
| 46 | Empires & Puzzles: Epic Match 3 | Small Giant Games |
| 47 | 검은사막 모바일 | PEARL ABYSS |
| 48 | Gunship Battle Total Warfare | JOYCITY Corp. |
| 49 | 그랑삼국 | YOUZU(SINGAPORE)PTE.LTD. |
| 50 | 황제라 칭하라 | Clicktouch Co., Ltd. |
My Favorite Mac Utilities -번역
내가 좋아하는 MAC 유틸리티
내 맥을 훨씬 더 잘 만드는 다섯 가지 간단한 유틸리티.
저는 노트북, 헤드폰 또는 펜 및 노트북과 같은 하드웨어에 대해 쓸 수 있습니다.내가 충분히 말하지 않는 것은 해당 하드웨어에 사용하는 응용 프로그램이나 도구입니다.
나는 이제 iPads를 풀 타임으로 사용하는 시간 외에도 거의 10 년 동안 Mac을 사용 해왔다.그 당시, 나는 몇 가지 도구, 유틸리티 및 정기적으로 사용하기를 원하는 앱을 집어 들었습니다.
이 게시물을 위해서, 나는 그것을 원합니다이자형내가 사용하는 유틸리티를 넘겨주는 것.새로운 MacBook에서 즉시 다시 설치된 것들.이들 중 일부는 응용 프로그램으로 간주 될 수 있지만, 나를 필요로하지 않고 백그라운드에서 실행되는 것을 설정하는 곳으로 나를 데리고 나가는 도구로 볼 수 있습니다.
응용 프로그램 및 다른 프로세스 및 도구를 사용하여 더 많은 게시물을 계속 지켜 보지만, 지금은 간단하게 시작하고 싶었습니다.그래서 내가 가장 좋아하는 유틸리티가 내 맥에서 끊임없이 사용하는 것입니다.
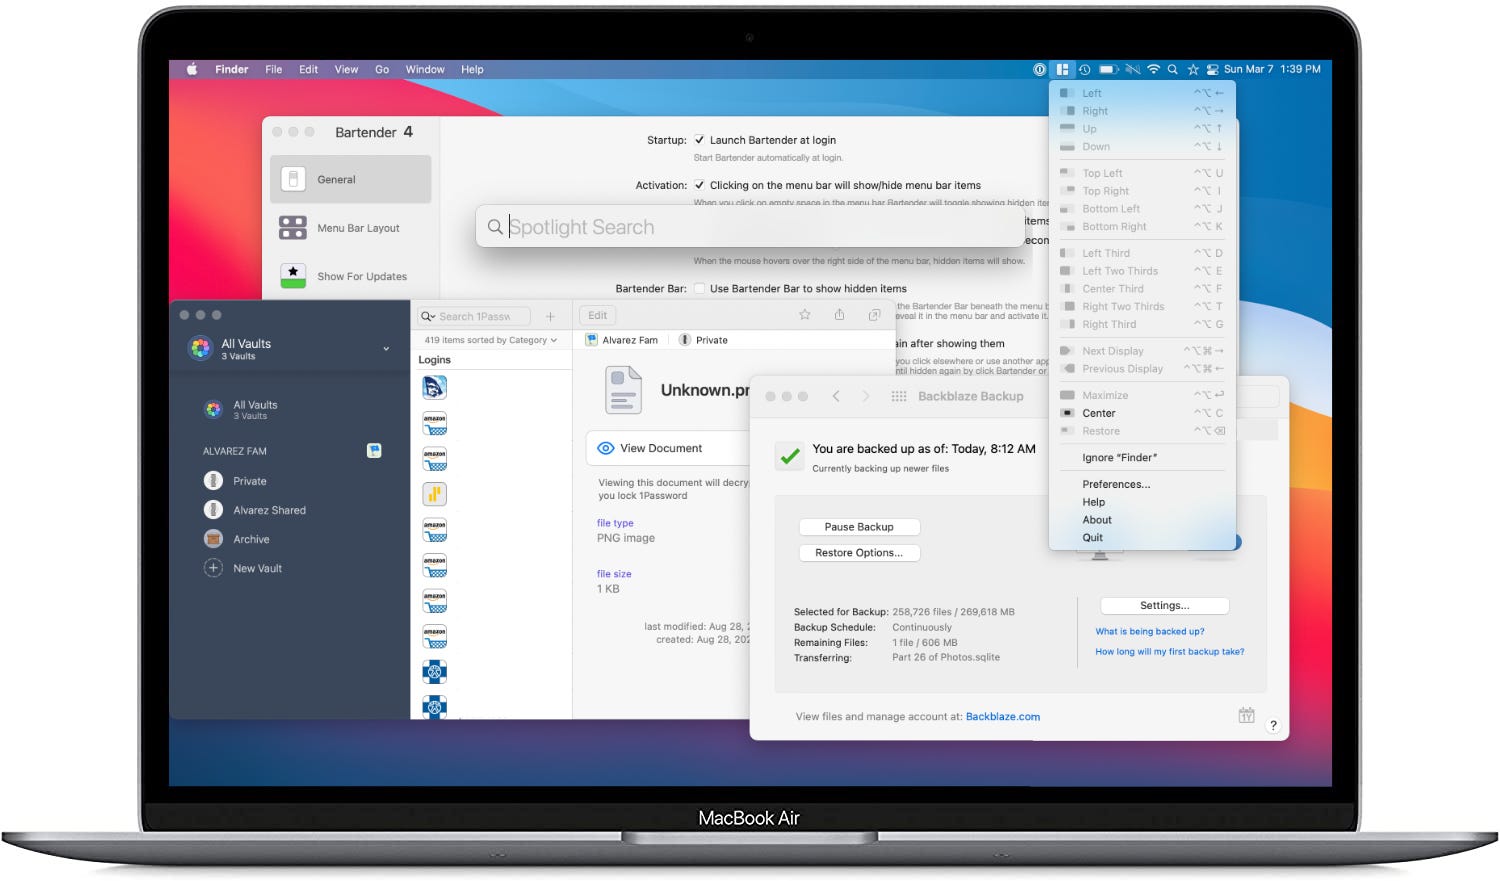
바텐더 4.($ 15)
이 유틸리티는 연령대를 위해 주변에있었습니다.나는 심지어 Mac을 사용하여 선택의 컴퓨터를 사용하기 전에였습니다.이 유틸리티는 정확하게 그 이름이 말하는 것입니다.그것은 메뉴 “바”의 “입찰”입니다.
내 MAC의 앱 또는 기타 유틸리티를위한 모든 메뉴 표시 줄 아이콘.한 번 이처럼 보였던 것은 무엇입니까?

이제는 다음과 같습니다.

내가 전에 말했듯이, 이것은 잠시 동안 주변에있었습니다.간단한 기능은 모든 메뉴 항목을 숨기기 위해 모든 메뉴 항목을 숨기면 청결한 메뉴 모음을 제공합니다.선글라스, 3 개의 점 또는 별의 한 쌍과 같이 주요 아이콘을 원하는 것에 대해 몇 가지 옵션이 있습니다.
바텐더는 거기에서 멈추지 않습니다.또한 각 메뉴 아이콘을 원하는 방식에서 선택할 수있는 다양한 옵션이 제공됩니다.Bartender의 특정 메뉴 아이콘을 숨길 수 있으며, 전혀 볼 수 없거나 항상 볼 수 있습니다.
Bartender 4는 MacOS Big Sur에서 사용할 수 있으며 현재 공개 베타 속에 있으므로 베타에서는 여전히 무료입니다.베타가 더 이상 활성화되지 않은 경우 15 달러의 비용이 듭니다.이전 매크로 버전을 사용하는 모든 사용자를 위해바텐더 3.여전히 구매할 수 있습니다.
메뉴 바를 분명히 유지하는 간단한 솔루션을 제공하는 간단한 도구입니다.나는 많은 사람들이 톤의 메뉴 아이콘을 가지고 있고 바텐더를 관리하고 유지하는 데 더 유용한 바텐더를 찾는다는 것을 알고 있습니다.
자석($ 7.99)
Mac의 창 관리는 당신이 사랑하거나 싫어하는 것입니다.창 관리가 매우 구조화되고 제한되므로 많은 사랑 iPados가 있습니다.Mac에서는 일부를 위해 ChaOS를 만들 수있는 Windows를 겹칠 수 있습니다.
자석은 간단한 클릭으로 Windows를 이동하고 크기를 조정할 수있는 옵션을 제공하여 Mac에서 Window Management를 돕고 있습니다.Magnet을 사용하고 싶은 방법의 몇 가지 예제는 바탕 화면에서 무언가를 중심적으로 가운데 전체 화면 모드로 들어 가지 않고 풀 크기로 설정하고 싶습니다.
나는 전체 화면으로가는 대신 ulysses를 최대화하고 싶습니다. 그래서 나는 항상 나에게 항상 볼 수있는 메뉴 바가 있습니다.앱을 열고 Magnet에서 최대화 옵션을 클릭하는 것입니다.별도의 데스크톱에서 나는 트위터를 화면의 3 분의 1을 차지하고 이메일을 보내고 화면의 다른 2/3을 차지합니다.
자석은 창을 수동으로 끌 필요없이 많은 창을 가지고 있지 않아도 정리 또는 크기 조정을 원하면 자석이 우수합니다.
스포트라이트(수은)
일단 스포트라이트를 불러 오는 명령 + 스페이스 바 키보드 바로 가기를 암기했을 때, 나는이 방법으로 앱 만 출시하고 내 도킹을 자동 숨기기 위해 설정했습니다.나는 스포트라이트가 잠시 동안 주변에 있었다는 것을 알고 있지만, 나는 그것을 더 많이 사용하기 시작했던 단지 몇 년이 아니 었습니다.
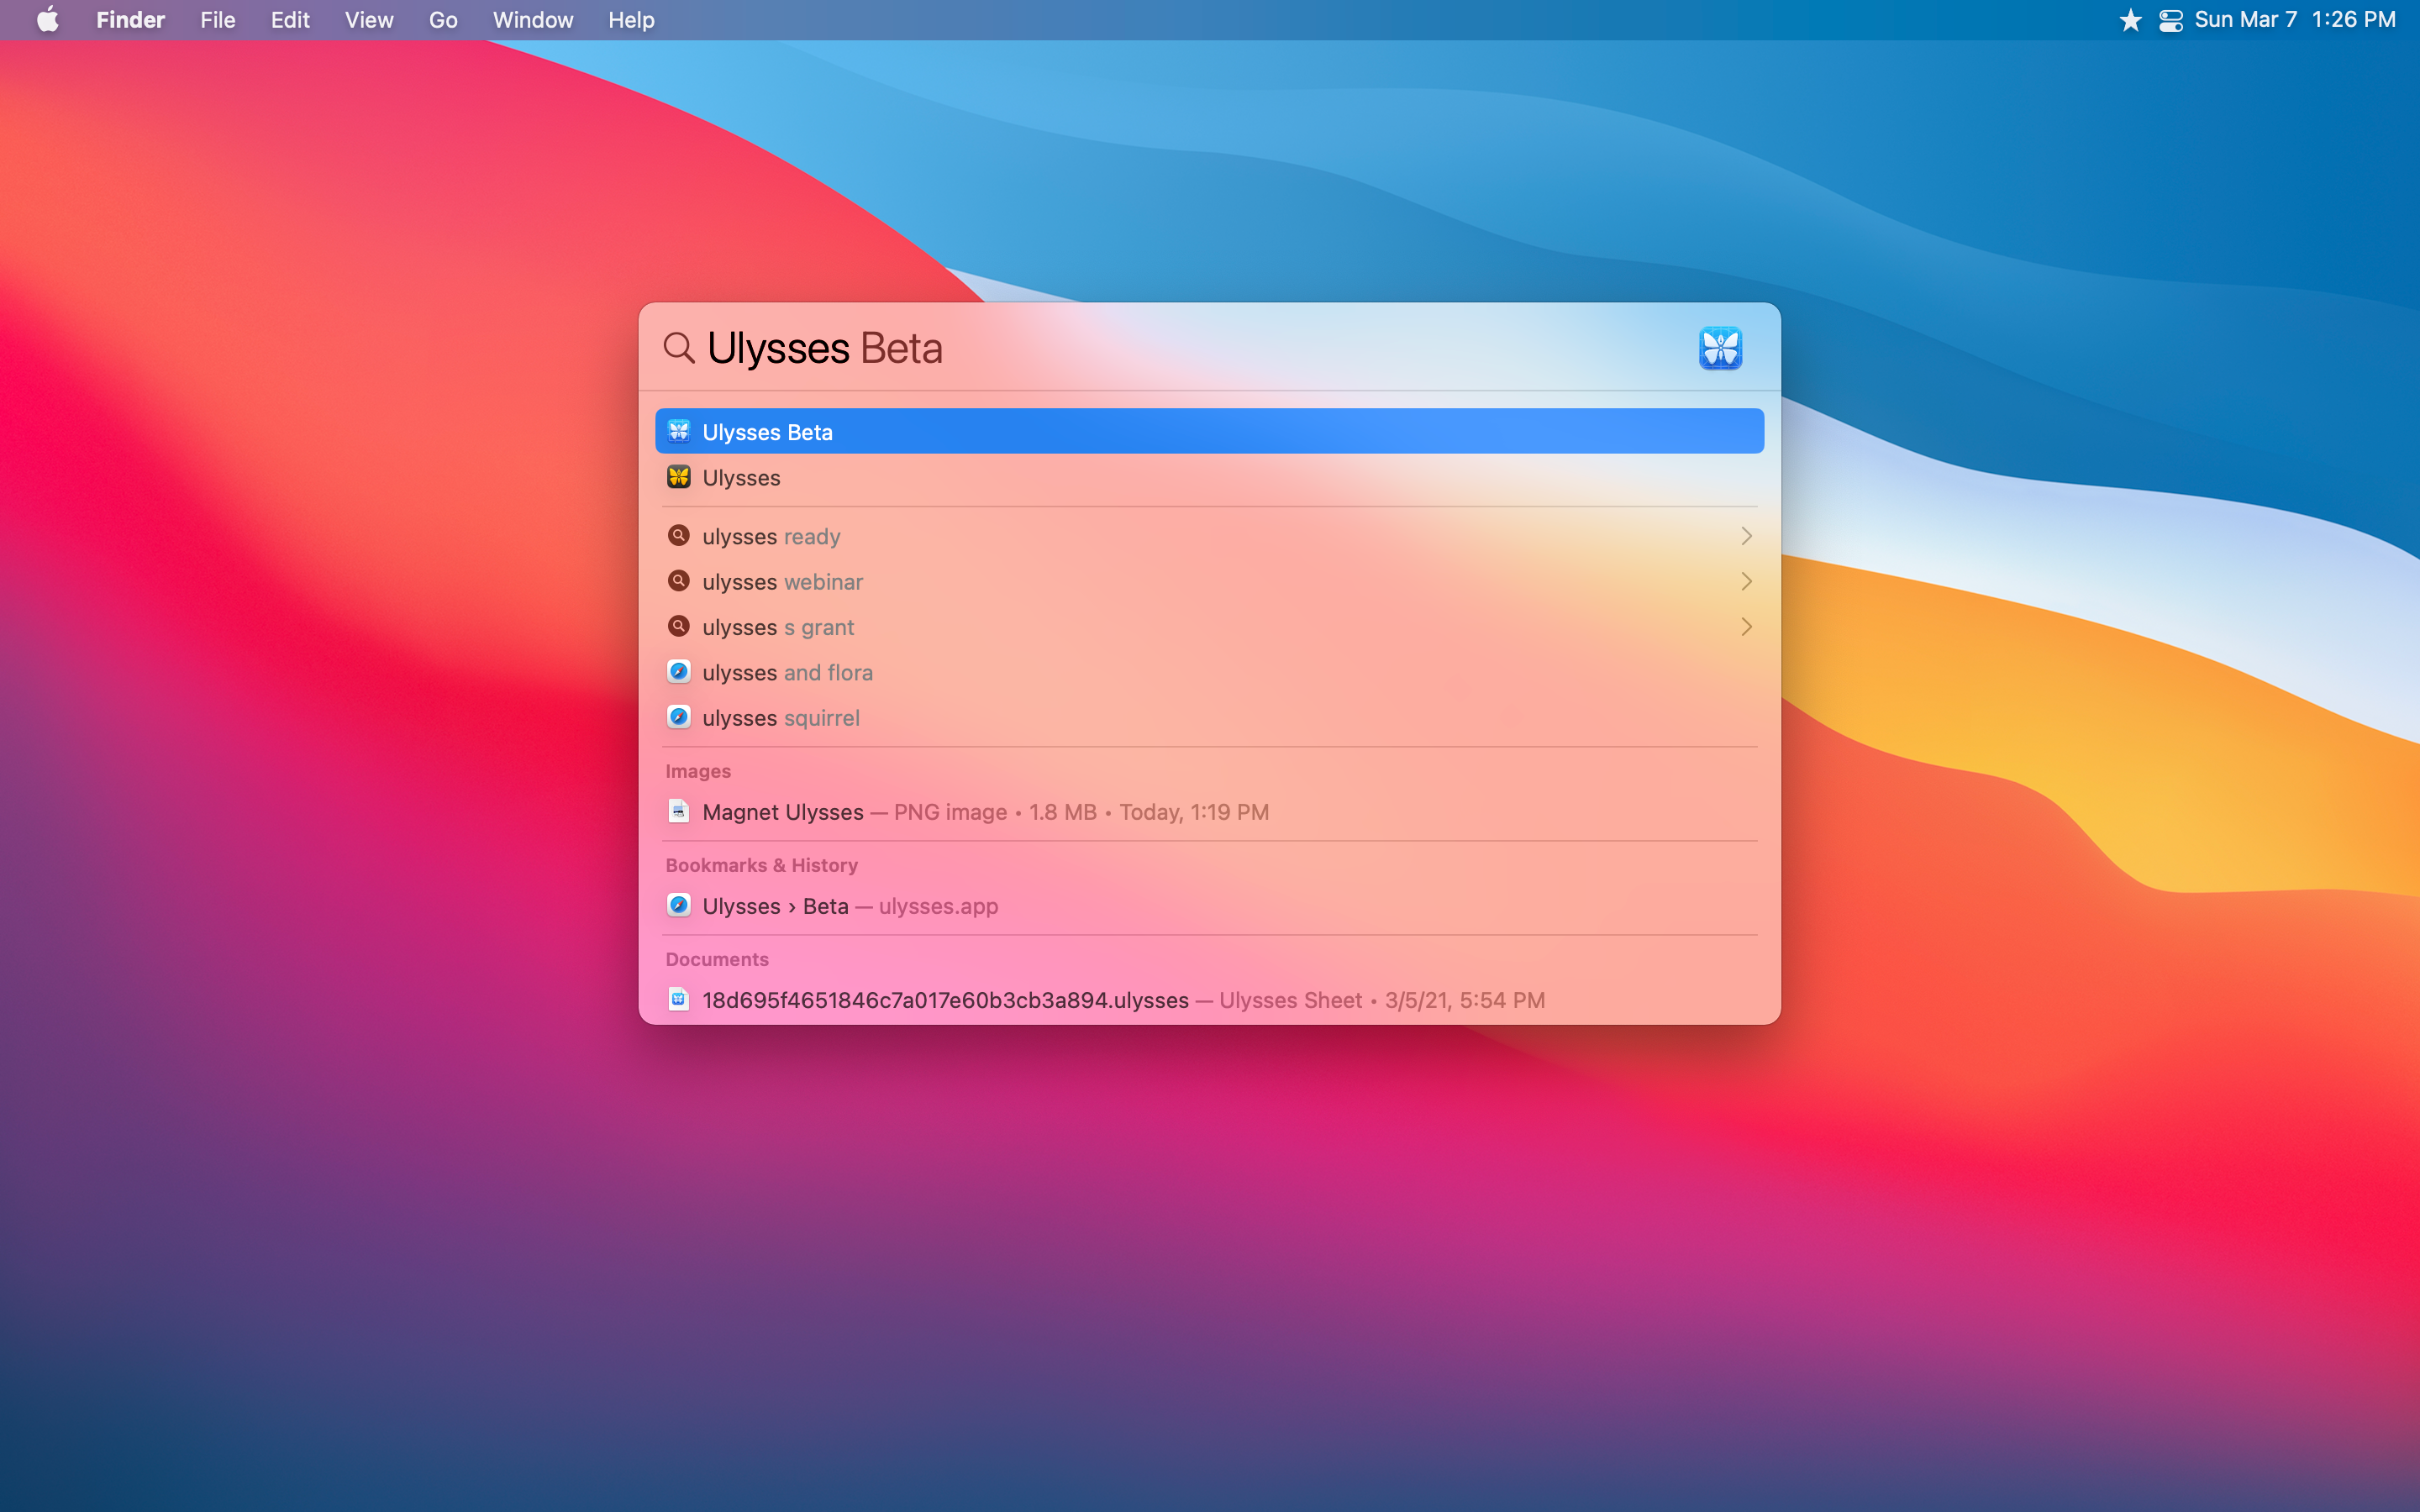
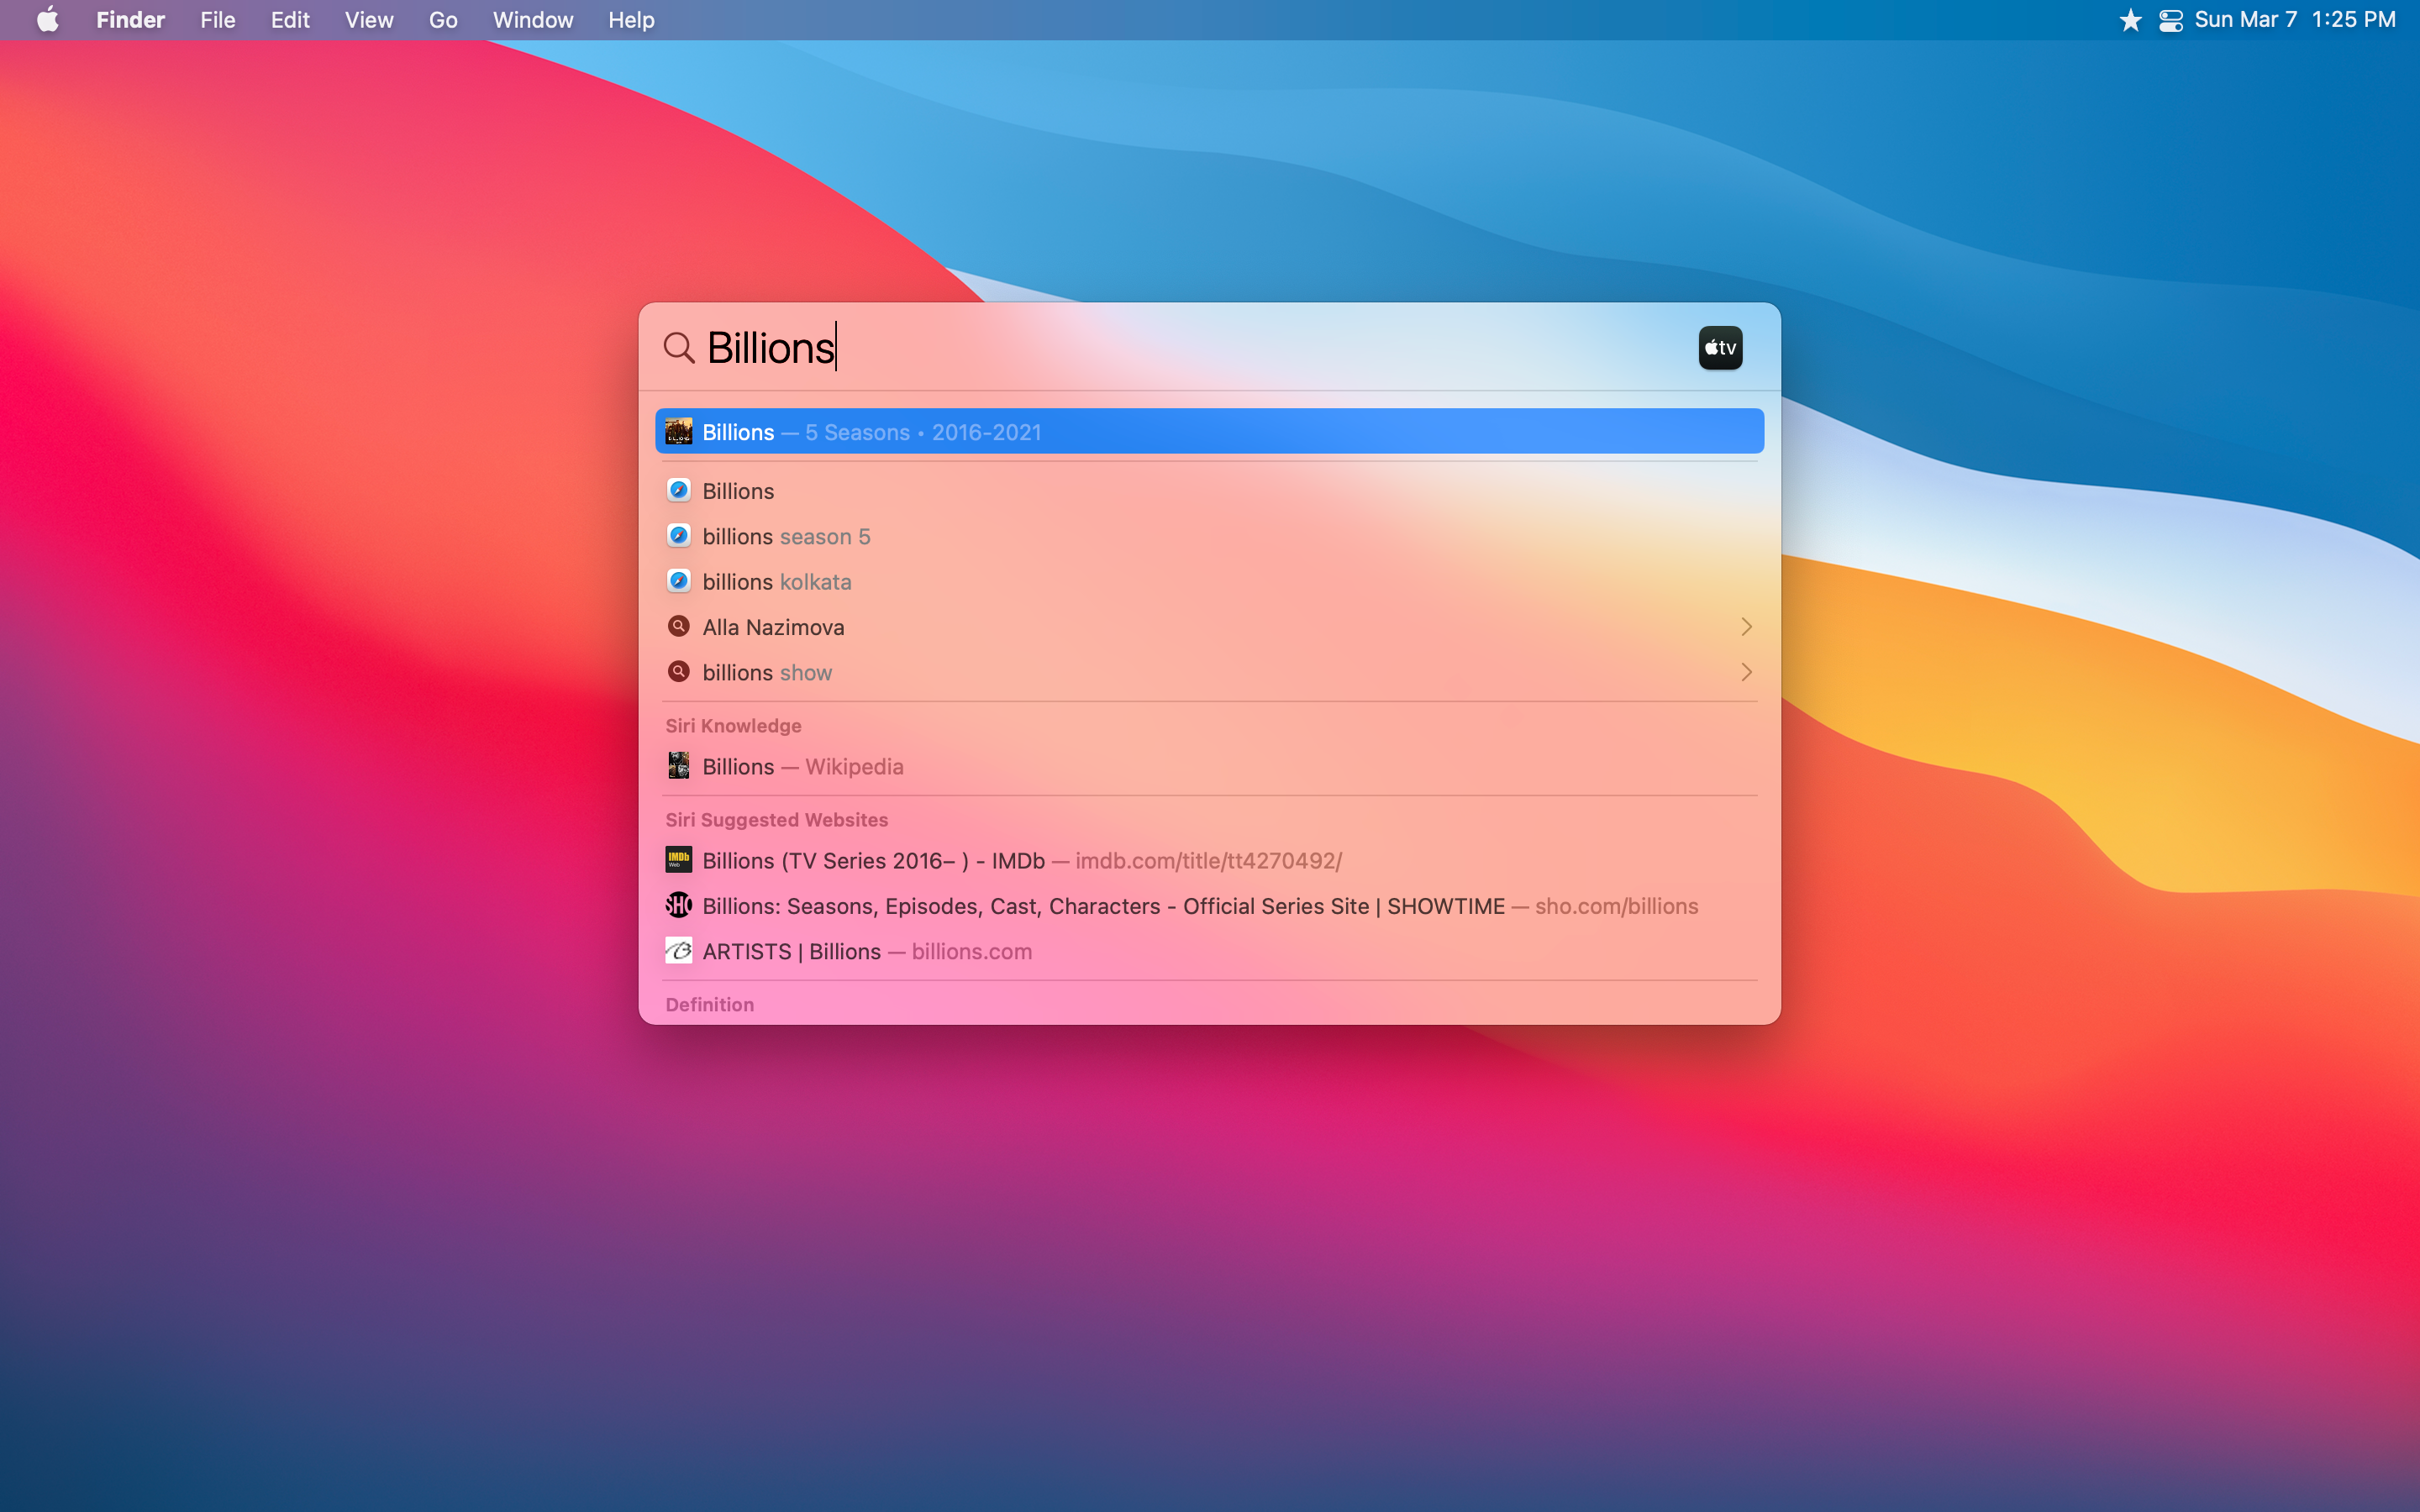
Spotlight에 대한 훌륭한 것은 앱을 검색하고 출시하는 것 이상을 수행 할 수 있다는 것입니다.문서, 이메일, 음악을 검색 할 수 있으며 웹에서 텍스트 상자에서 똑바로 항목을 검색 할 수 있습니다.
수년 동안 Spotlight는 제공되는 기능이 제한되어 있으며, 지역 사물을 검색 할 수 있습니다.그러나 시간이 지남에 따라 퀵실버가 수년 동안 퀵실버가 수행 한 많은 것들을 제공합니다.QuickSilver는 자동화 및 기타 기능을 제공하지만 Mac의 모든 것에 대한 간단한 검색 도구를 위해 스포트라이트는 잘 작동합니다.
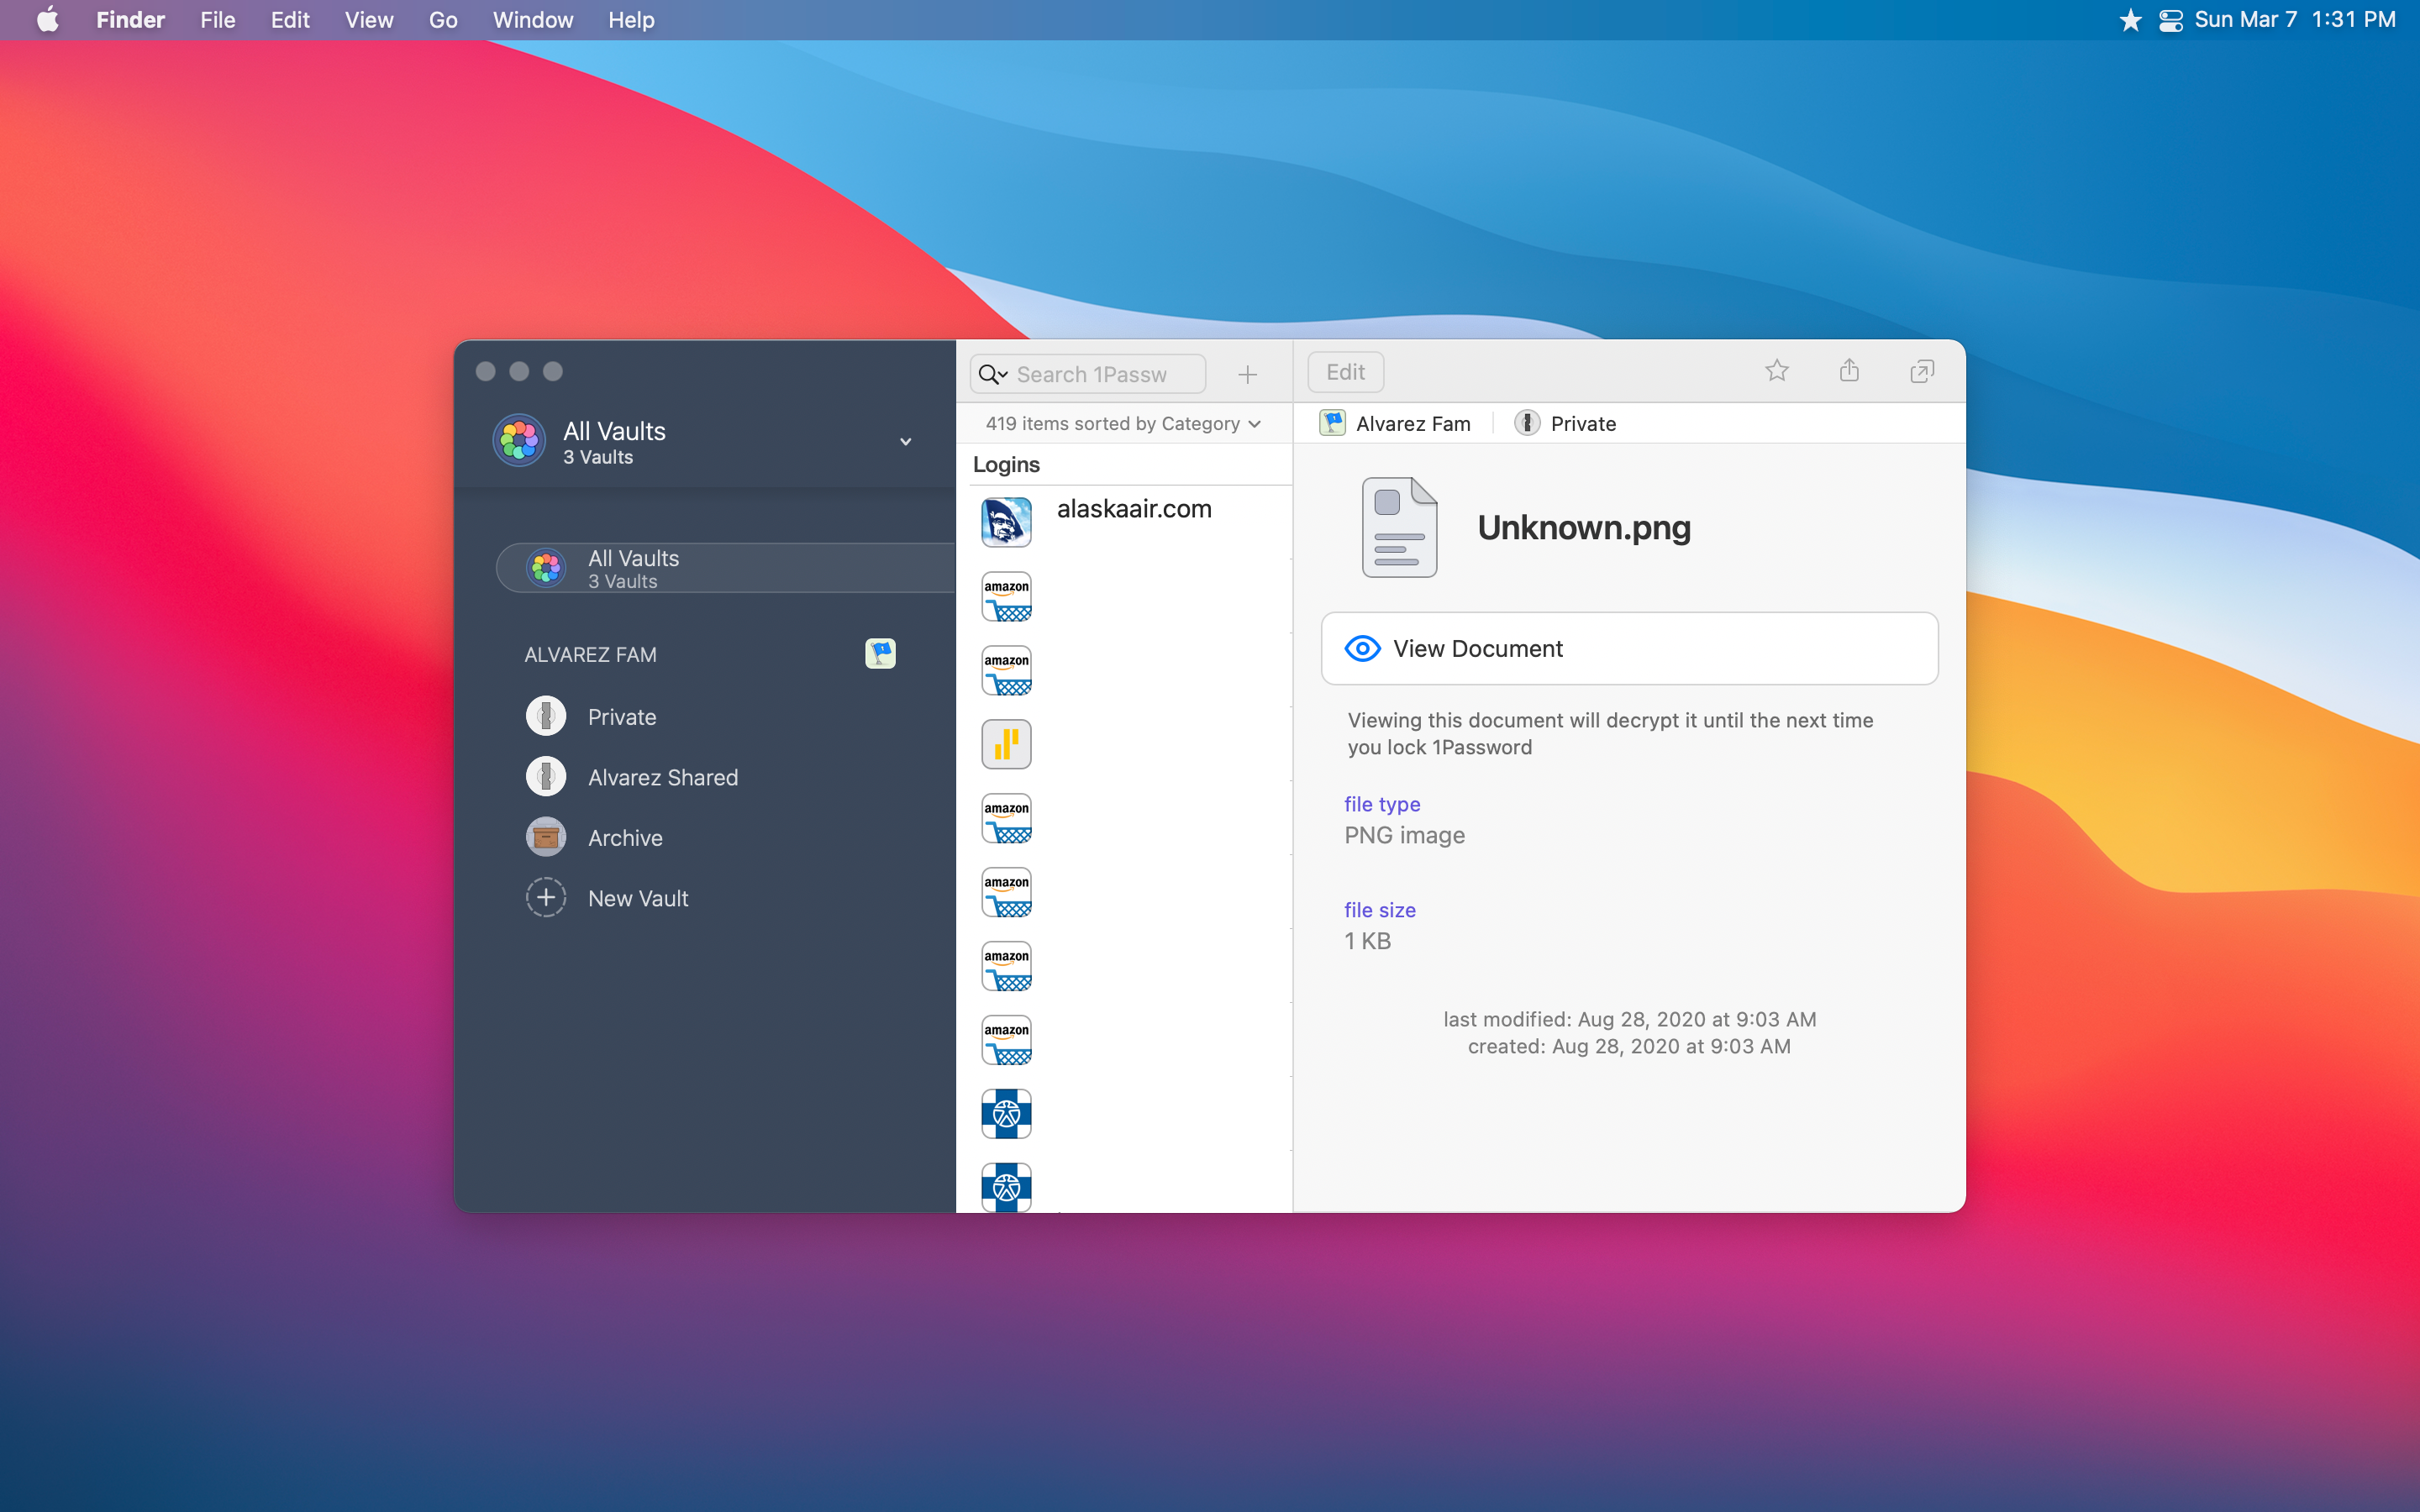
1password.(매월 6.99 달러, 매년 $ 59.99)
암호는 특히 온라인 서비스 중 하나에 대해 안전한 암호를 갖고 싶을 때 추적하는 통증입니다.애플의 iCloud 키 체인은 훌륭하지만, 제 아내와 공유 할 수있는 것을 원했습니다.
너무 어두워지지 않고이 유용성과 다음은 내 장치가 깨지는 경우뿐만 아니라 어떻게 든 사라질 경우에뿐만 아니라 마음의 평화를주는 것들입니다.죽음은 결코 생각하고 싶은 것이 아닙니다. 그러나 저를 위해, 나는 조금 더 쉽게 가치가있는 어려운 상황을 다루기 위해 아내가 어려운 상황을 처리 할 수 있도록 설립 된 특정 일이 있음을 알고 있습니다.
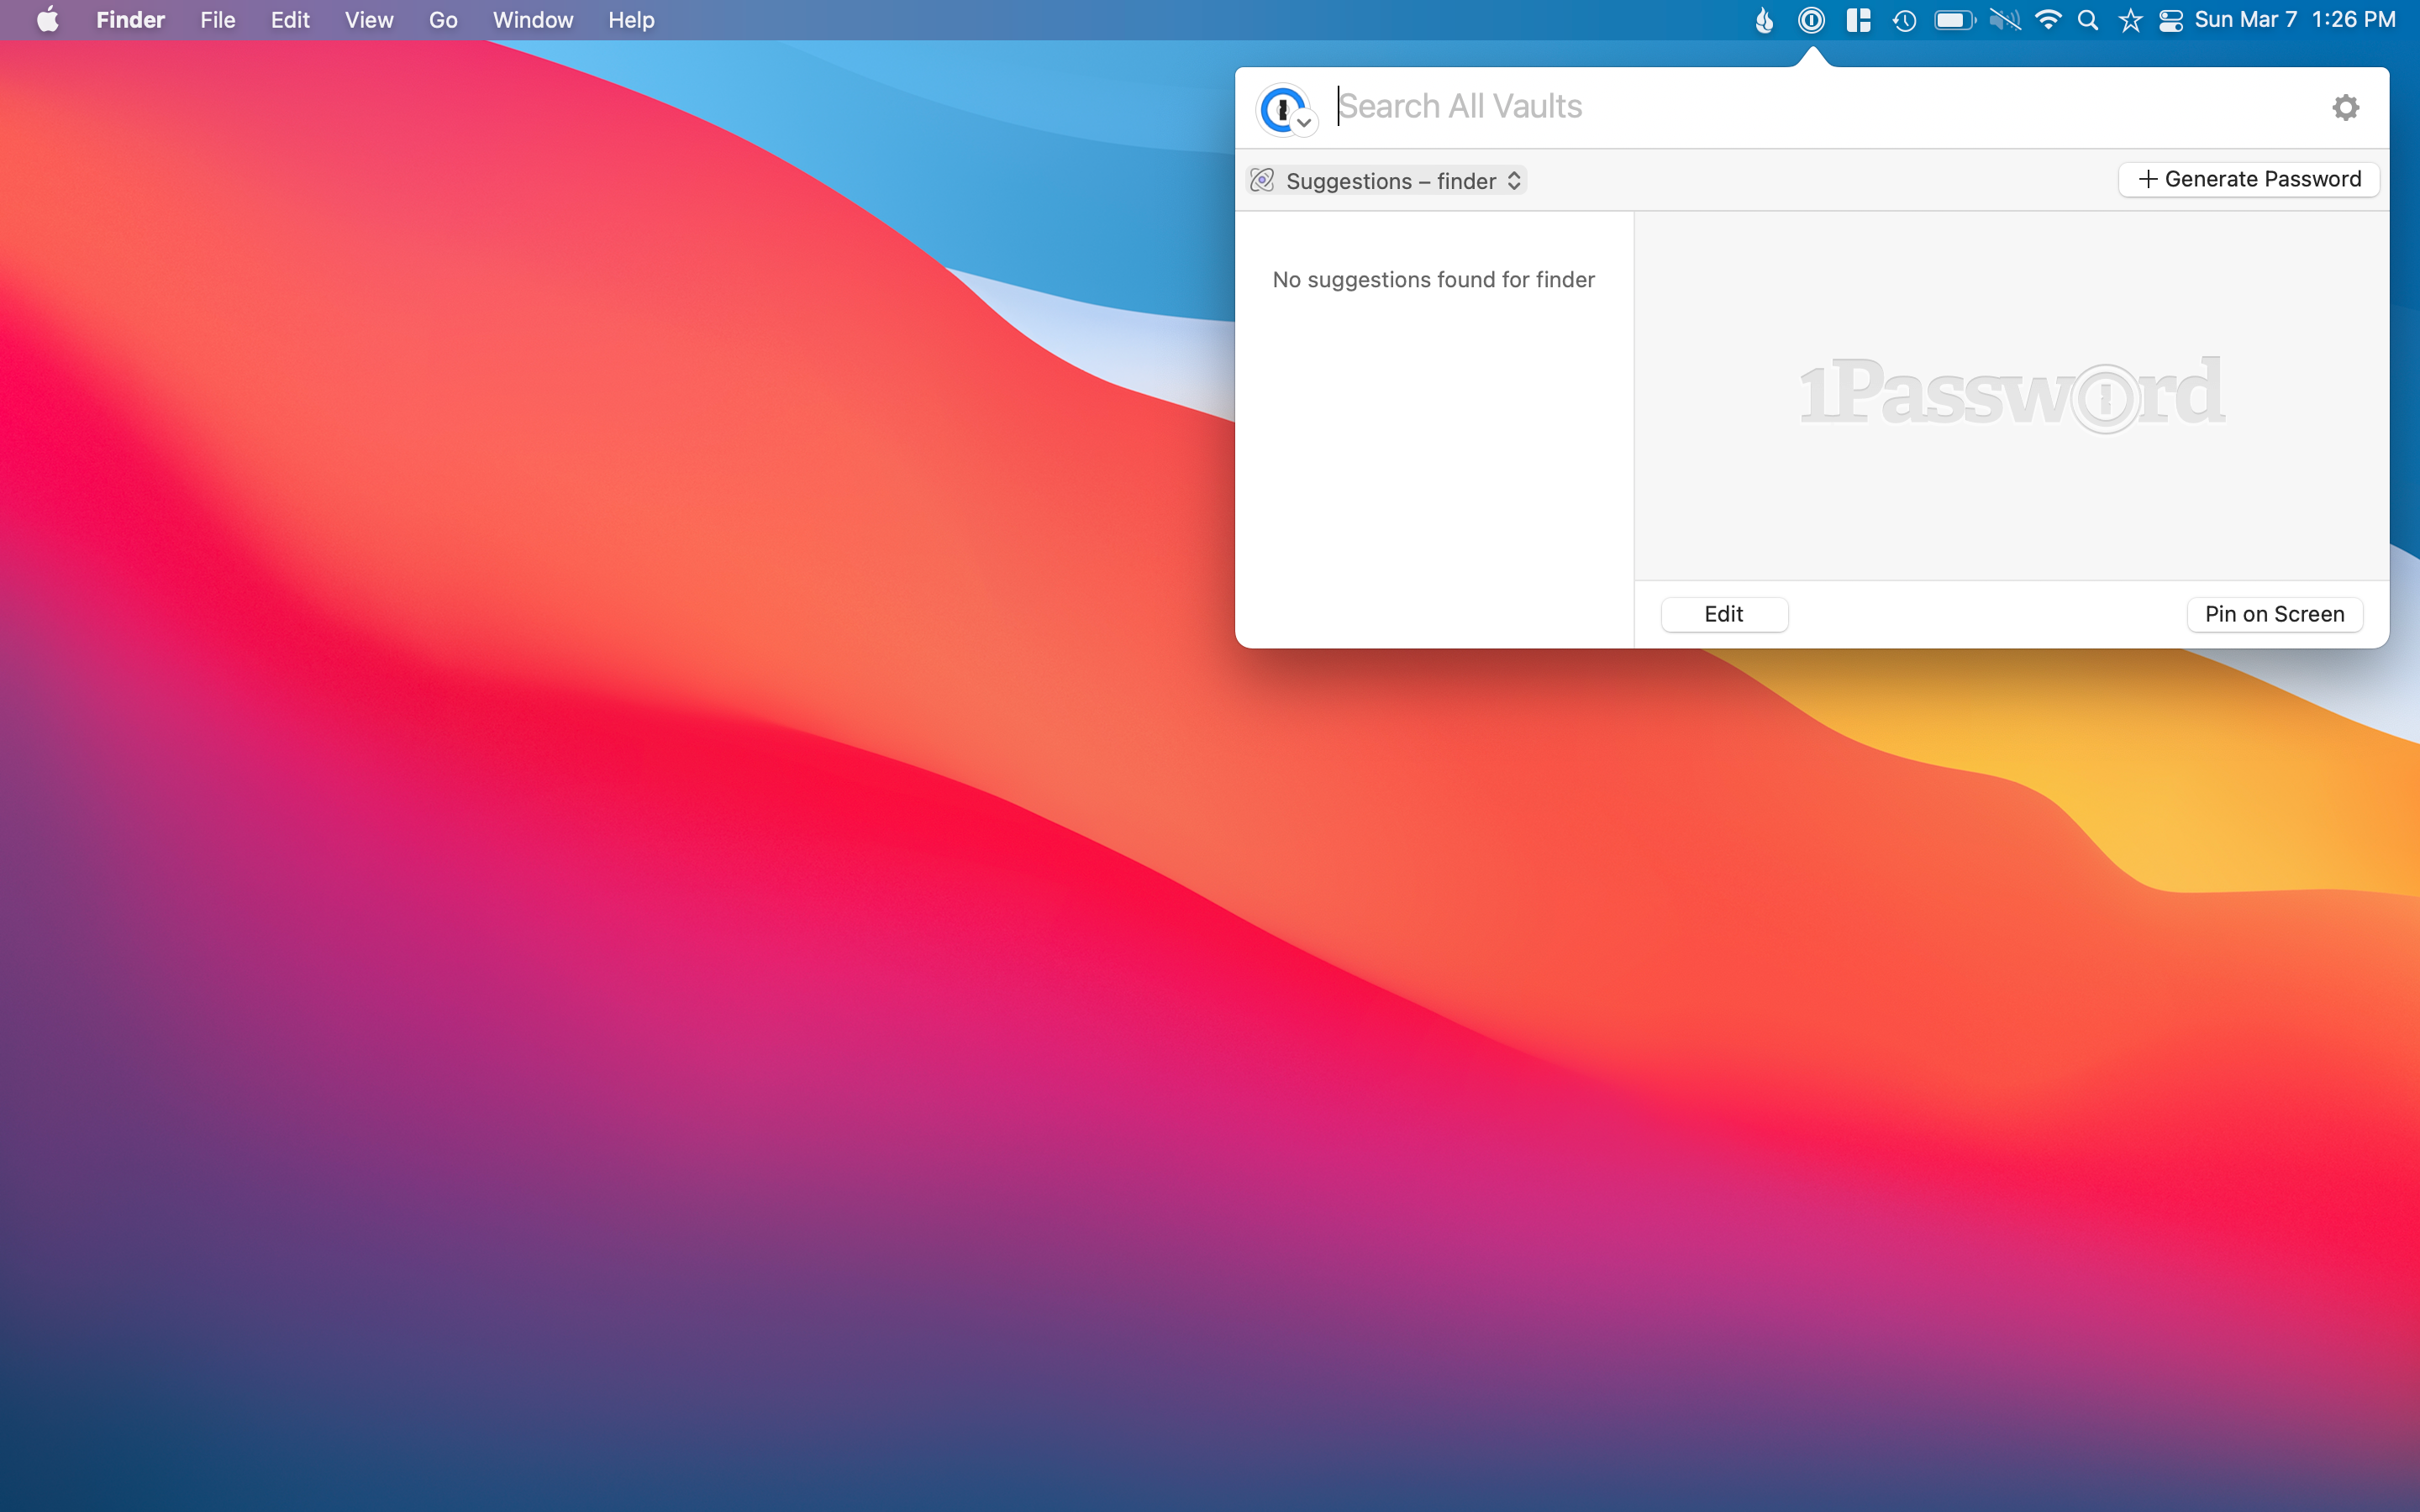
1Password는 내가 생각할 수있는 모든 기록을 추적 할 수있는 개인용 금고를 제공합니다.심지어 iPhone 및 iPad에서 1Password를 사용할 때 설정 한 로그인에 대해 2 인증을 설정하고 해당 로그인을 복사 할 수 있습니다.
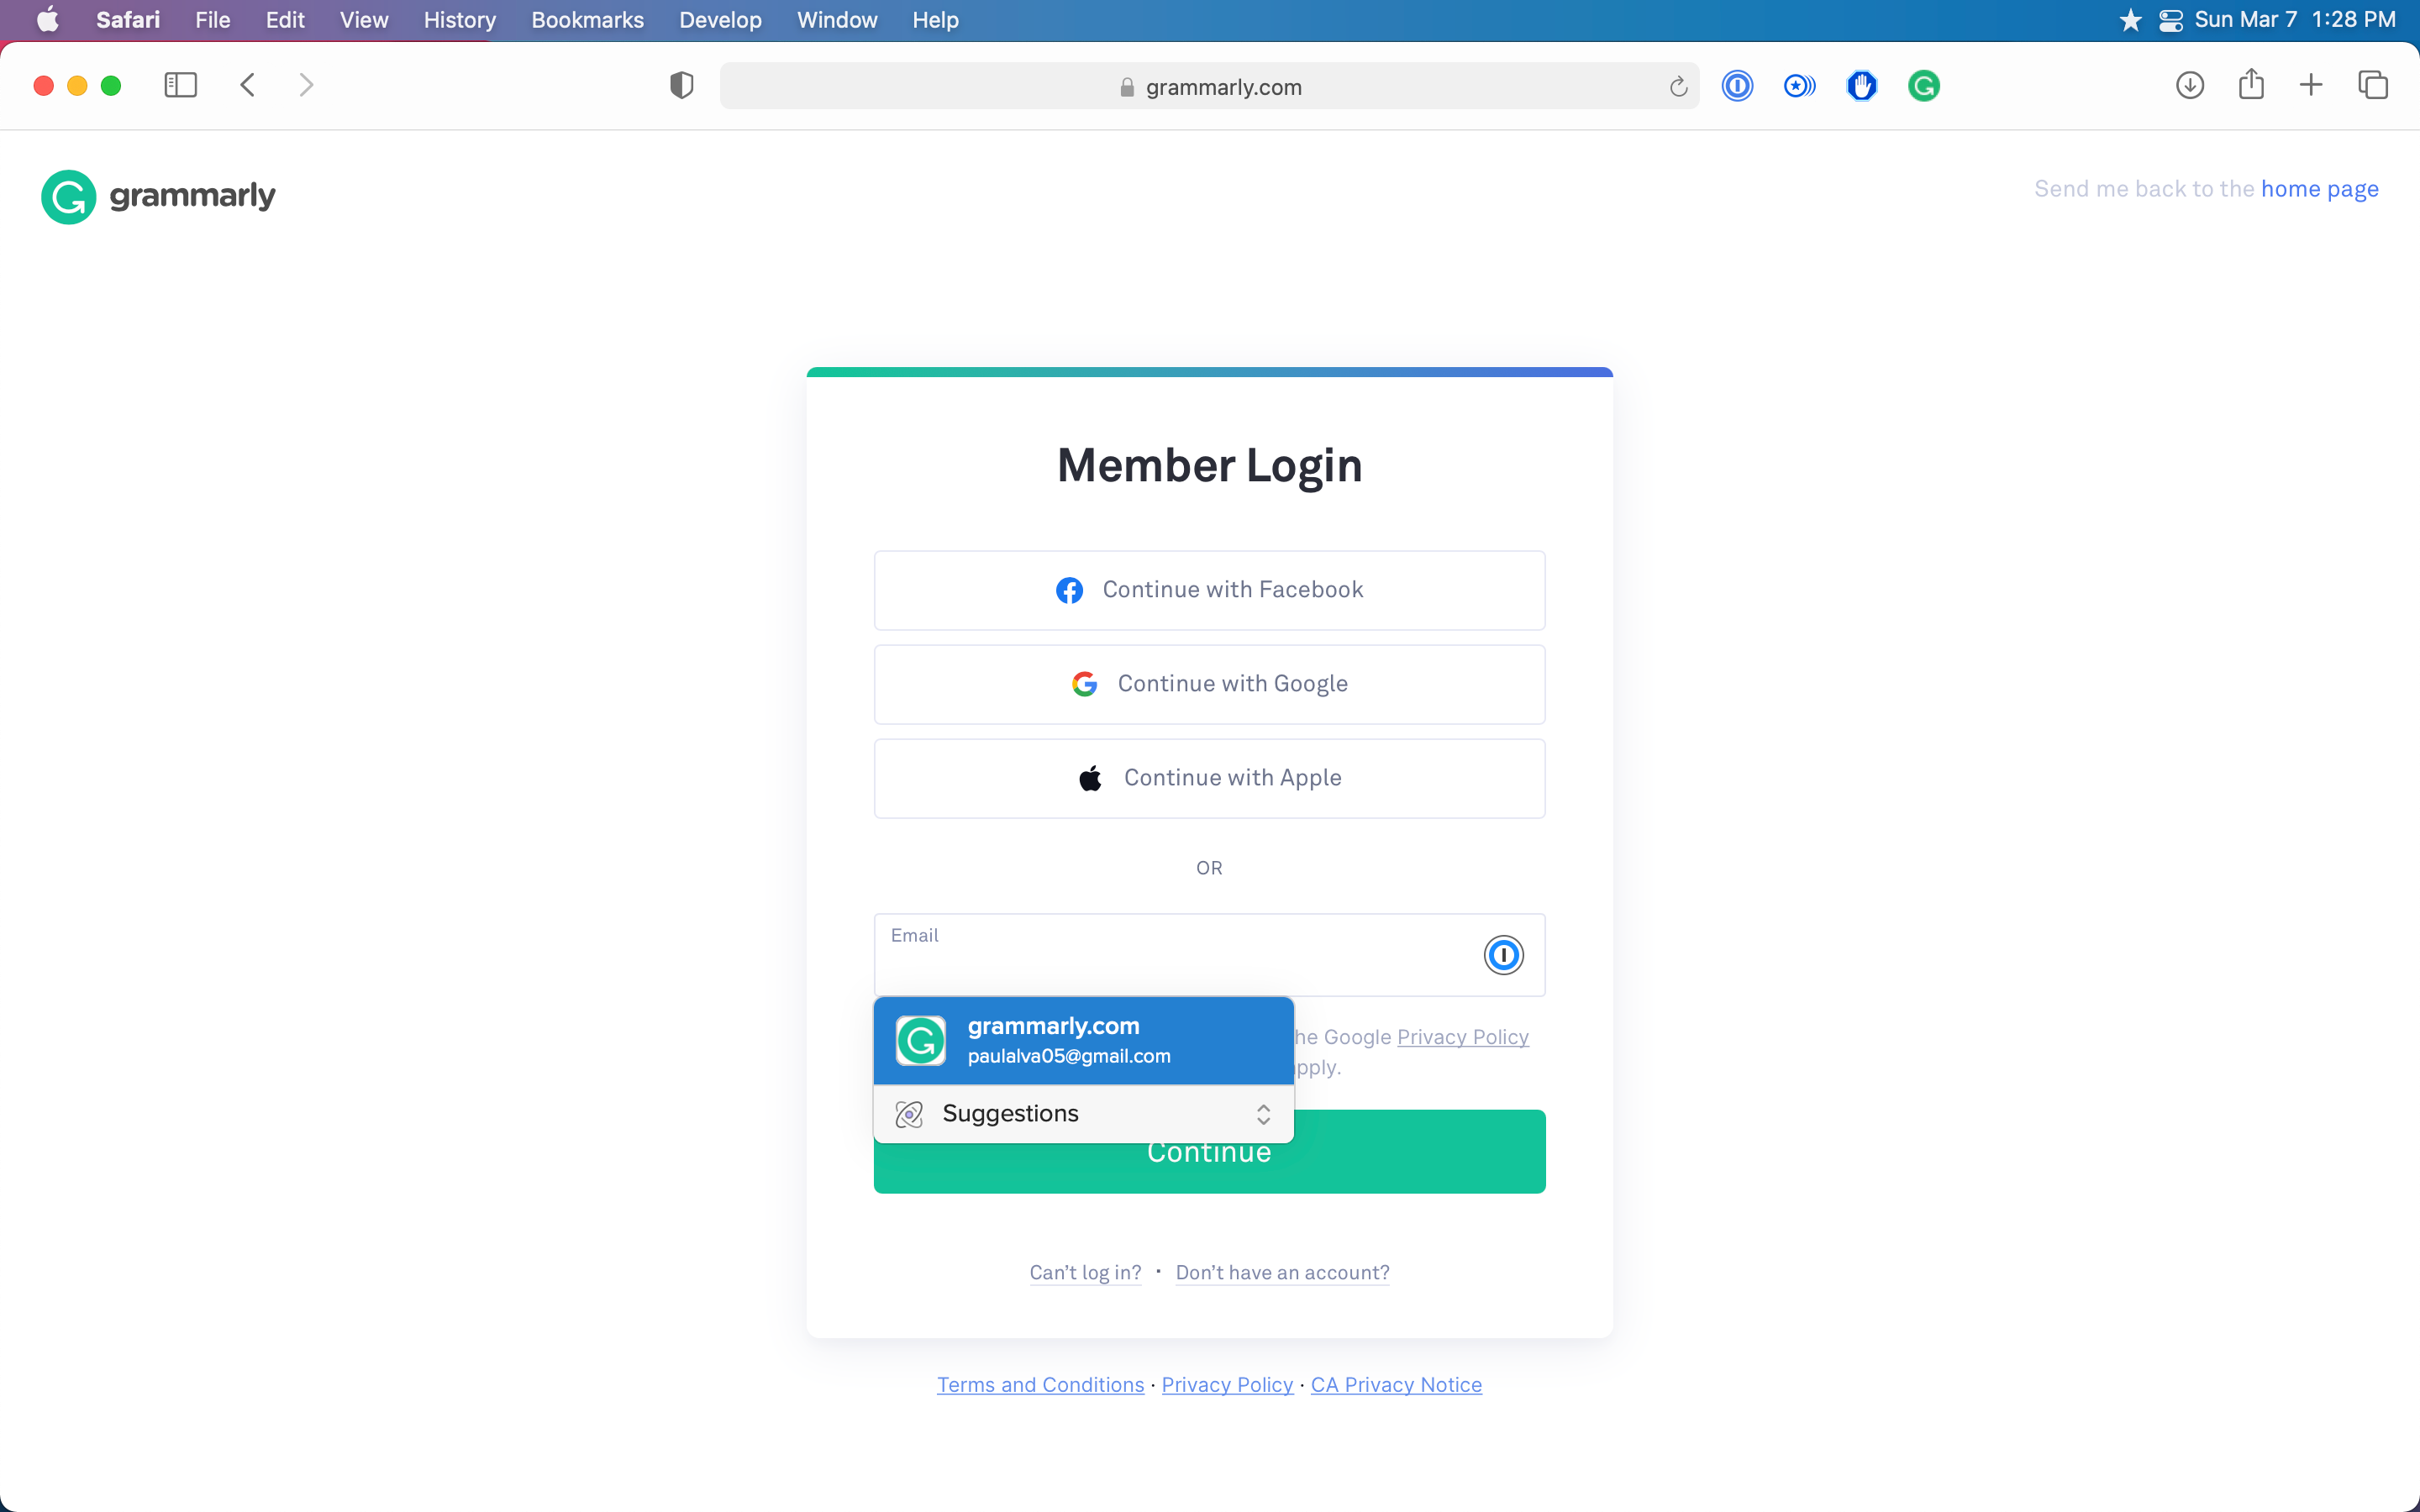
가장 좋은 부분은 공유 금고입니다.제 아내와 저는이 공유 금고에서 우리 모두가 더 중요한 로그인이 너무 유용합니다. 우리 중 한 사람에게 일어나는 경우뿐만 아니라 우리 중 하나가있는 경우에만 로그인 할 필요가있을뿐만 아니라 뭔가에 로그인해야합니다.그녀가 자신을 로그인 할 수 없을 때 자신의 간단한 클릭으로 액세스 할 수 있습니다.
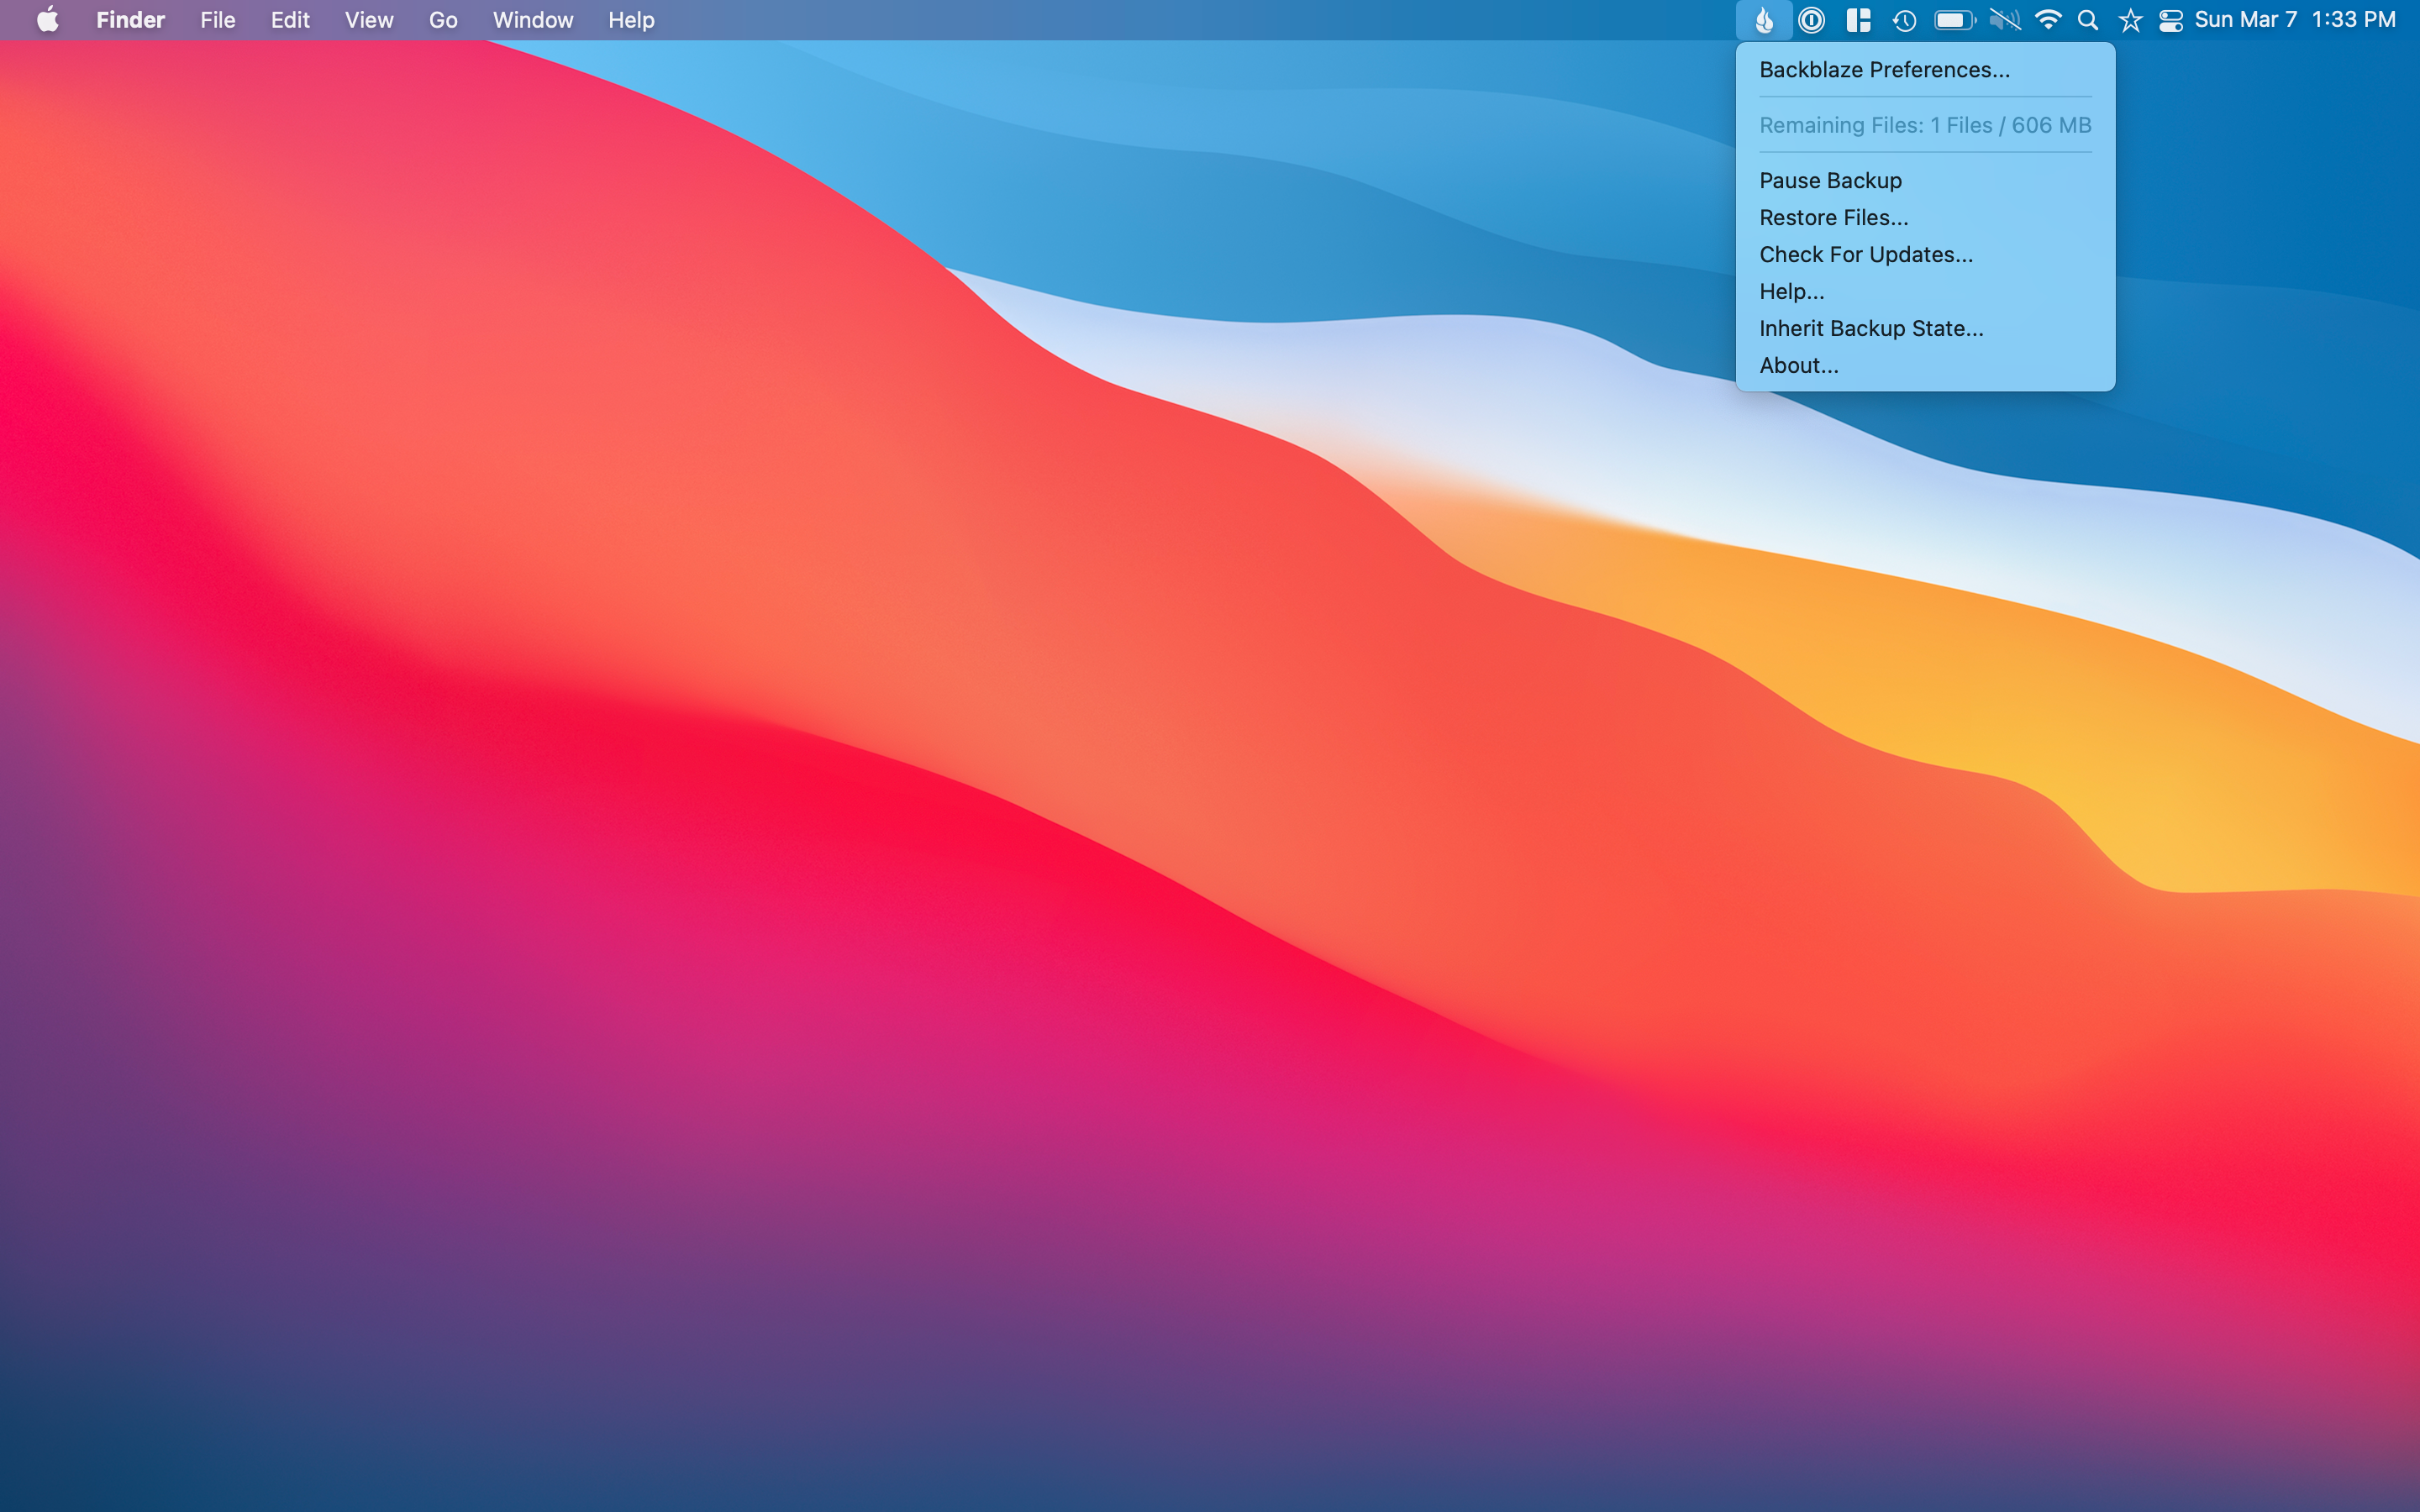
뒤판책(한 달에 6 달러)
이 유틸리티는 순전히 마음의 평화입니다.나는 몇 년 전에 그 존재에 대해 배웠던 즉시 항상 내 아내의 맥북에 항상 갔다.그것은 단지 작동하는 저렴한 오프 사이트 백업 서비스입니다.
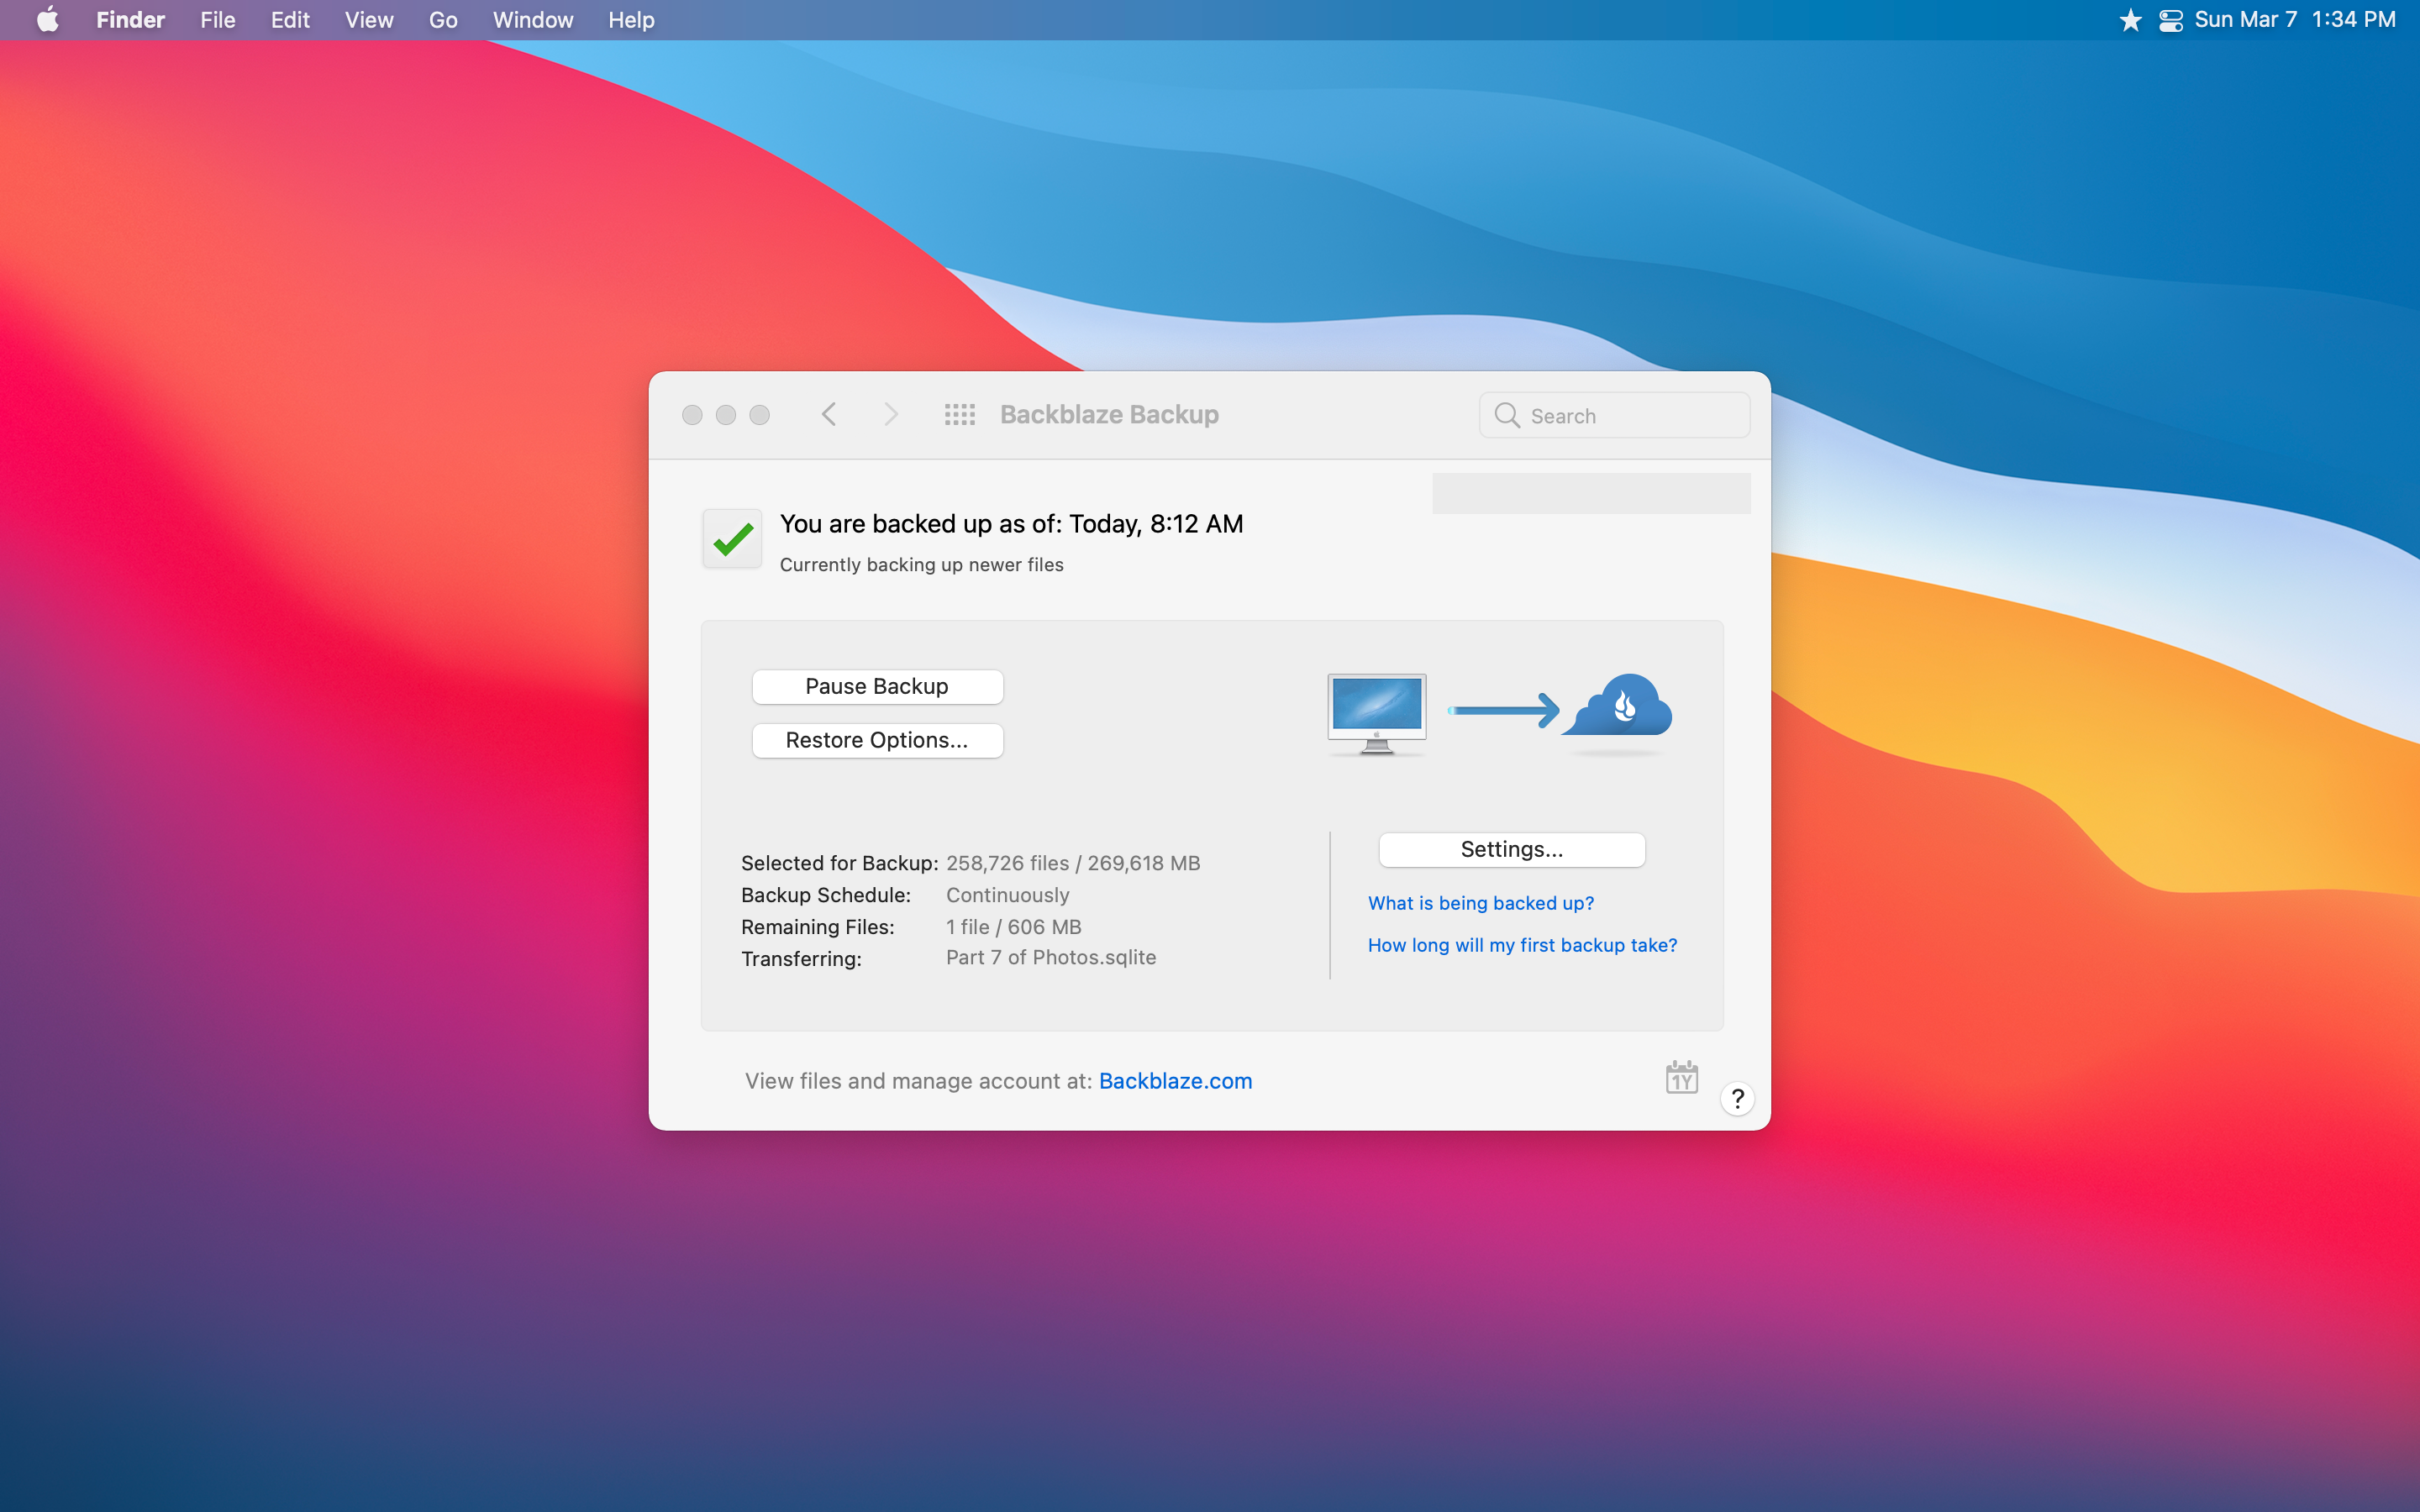
수년 동안 단일 컴퓨터 및 한 달에 5 달러에 연결된 외부 드라이브에 무제한 백업을 제공했습니다.최근에 그 가격이 6 달러로 확대되었지만 여전히 살인자 거래라고 생각합니다.MacBook Air가 백업 된 300GB 이상의 데이터뿐만 아니라 외부 하드 드라이브에도 2TB의 데이터도 백업했습니다.나에게서 6 달러에 불과합니다.
사실, 제가하는 일에 대해 6 달러를 지불 할 수 있지만 최근에 추가로 2 달러의 추가로 Backblaze Affber를 제공하는 또 다른 새로운 기능을 선택했습니다.이 추가 기능은 1 년 동안 삭제 된 데이터를 보호하는 1 년 버전의 기록입니다.
그래서 실수로 오늘날 파일을 삭제하고 6 개월 만에 파일이 필요했습니다. Backblaze는 여전히 백업에서 회복하기 위해 여전히 사용할 수 있습니다.또한 영원히 버전 기록을 제공합니다. 즉, 여전히 고객이있는 한 삭제 된 파일을 복구 할 수 있습니다.
영원히 버전의 역사는 2 달에 2 달러이며, 한 달에 GB 당 $ .005를 청구합니다.제가 아내와 나에게 영원히 옵션을 선택해야한다면, 총계는 표준 기반 비용에 대해 약 12 달러, $ 4 + $ 13.05 (2.7 TB가 $ 0.005를 곱한 총 비용이 약 30 달러)입니다.
2.7 테라 바이트의 데이터와 버전 기록의 2.7 terabytes for Sourcore는 영원히 그렇게 나쁘지는 않지만, 우리를 위해 조금 overboard입니다.우리가 랩톱과 1 년 버전의 역사를 위해 지금 지불하는 한 달에 16 달러는 충분합니다.
그러나 많은 양의 데이터가 있거나 장기간의 데이터 복구의 이점을 누릴 수있는 많은 가족 구성원이있는 경우 알아야 할 훌륭한 옵션입니다.수년 동안 일한 책의 원고와 마찬가지로 매우 민감한 데이터를 가진 일부와 마찬가지로 무엇이든 잃지 않도록하고 싶습니다.
나는 많은 다른 유틸리티를 가지고 있으며, 주로 매크로와 함께있는 것들이 있지만, 이것들은 내가 실제로 살 수없는 것들입니다.내 마음은 이러한 유틸리티가 제공하는 내 기본 요구 사항이므로 이러한 특정 버전에서는 죽지 않았습니다.
My Menu Bar를 구성하고 Windows 관리를 유지하면서 간단한 키보드 명령, 암호 관리자 및 신뢰할 수있는 오프 사이트 백업 소프트웨어가있는 내 Mac에서 검색 할 수있는 기능은 Mac이 최상의 Mac을 가장 잘 만드는 것들입니다.
비슷한 일을 할 수있는 다른 유틸리티가 있지만, 이들은 지속적으로 우리를 위해 일을 위해 일한 것들입니다.Mac에 유틸리티를 갖는 궁극적 인 목표는 컴퓨터가 당신을 위해 일하고 다른 방향으로 작동하지 않도록 더 잘 만들어야합니다.
따라서 Mac을보다 유용하게 만들려면 위 또는 귀하의 필요에 맞는 다른 도구 중 일부를 확인해 보겠습니다.가장 중요한 부분은 당신의 방식으로 들어 가지 않지만 당신을 위해 일하는 것입니다.
My Favorite Mac Utilities
My Favorite Mac Utilities
Five simple utilities that make my Mac that much better.
I like to write about hardware a lot, like laptops, headphones, or even pens and notebooks. What I don’t talk about enough are applications or tools that I use on those pieces of hardware.
I have been using a Mac for almost ten years now, besides the times in-between where I used iPads full-time. Over that time, I have picked up on a few tools, utilities, and apps that I like to use regularly.
For this post, I would like to go over the utilities that I use. Ones that are immediately reinstalled on any new MacBook. Some of these might be considered applications, but I see them as tools that get me to where I want to go or something I setup that runs in the background without needing me.
I will continue with more posts to go over applications and other processes and tools that I use, but I wanted to start simple for now. So here are my favorite utilities that I constantly use on my Mac.
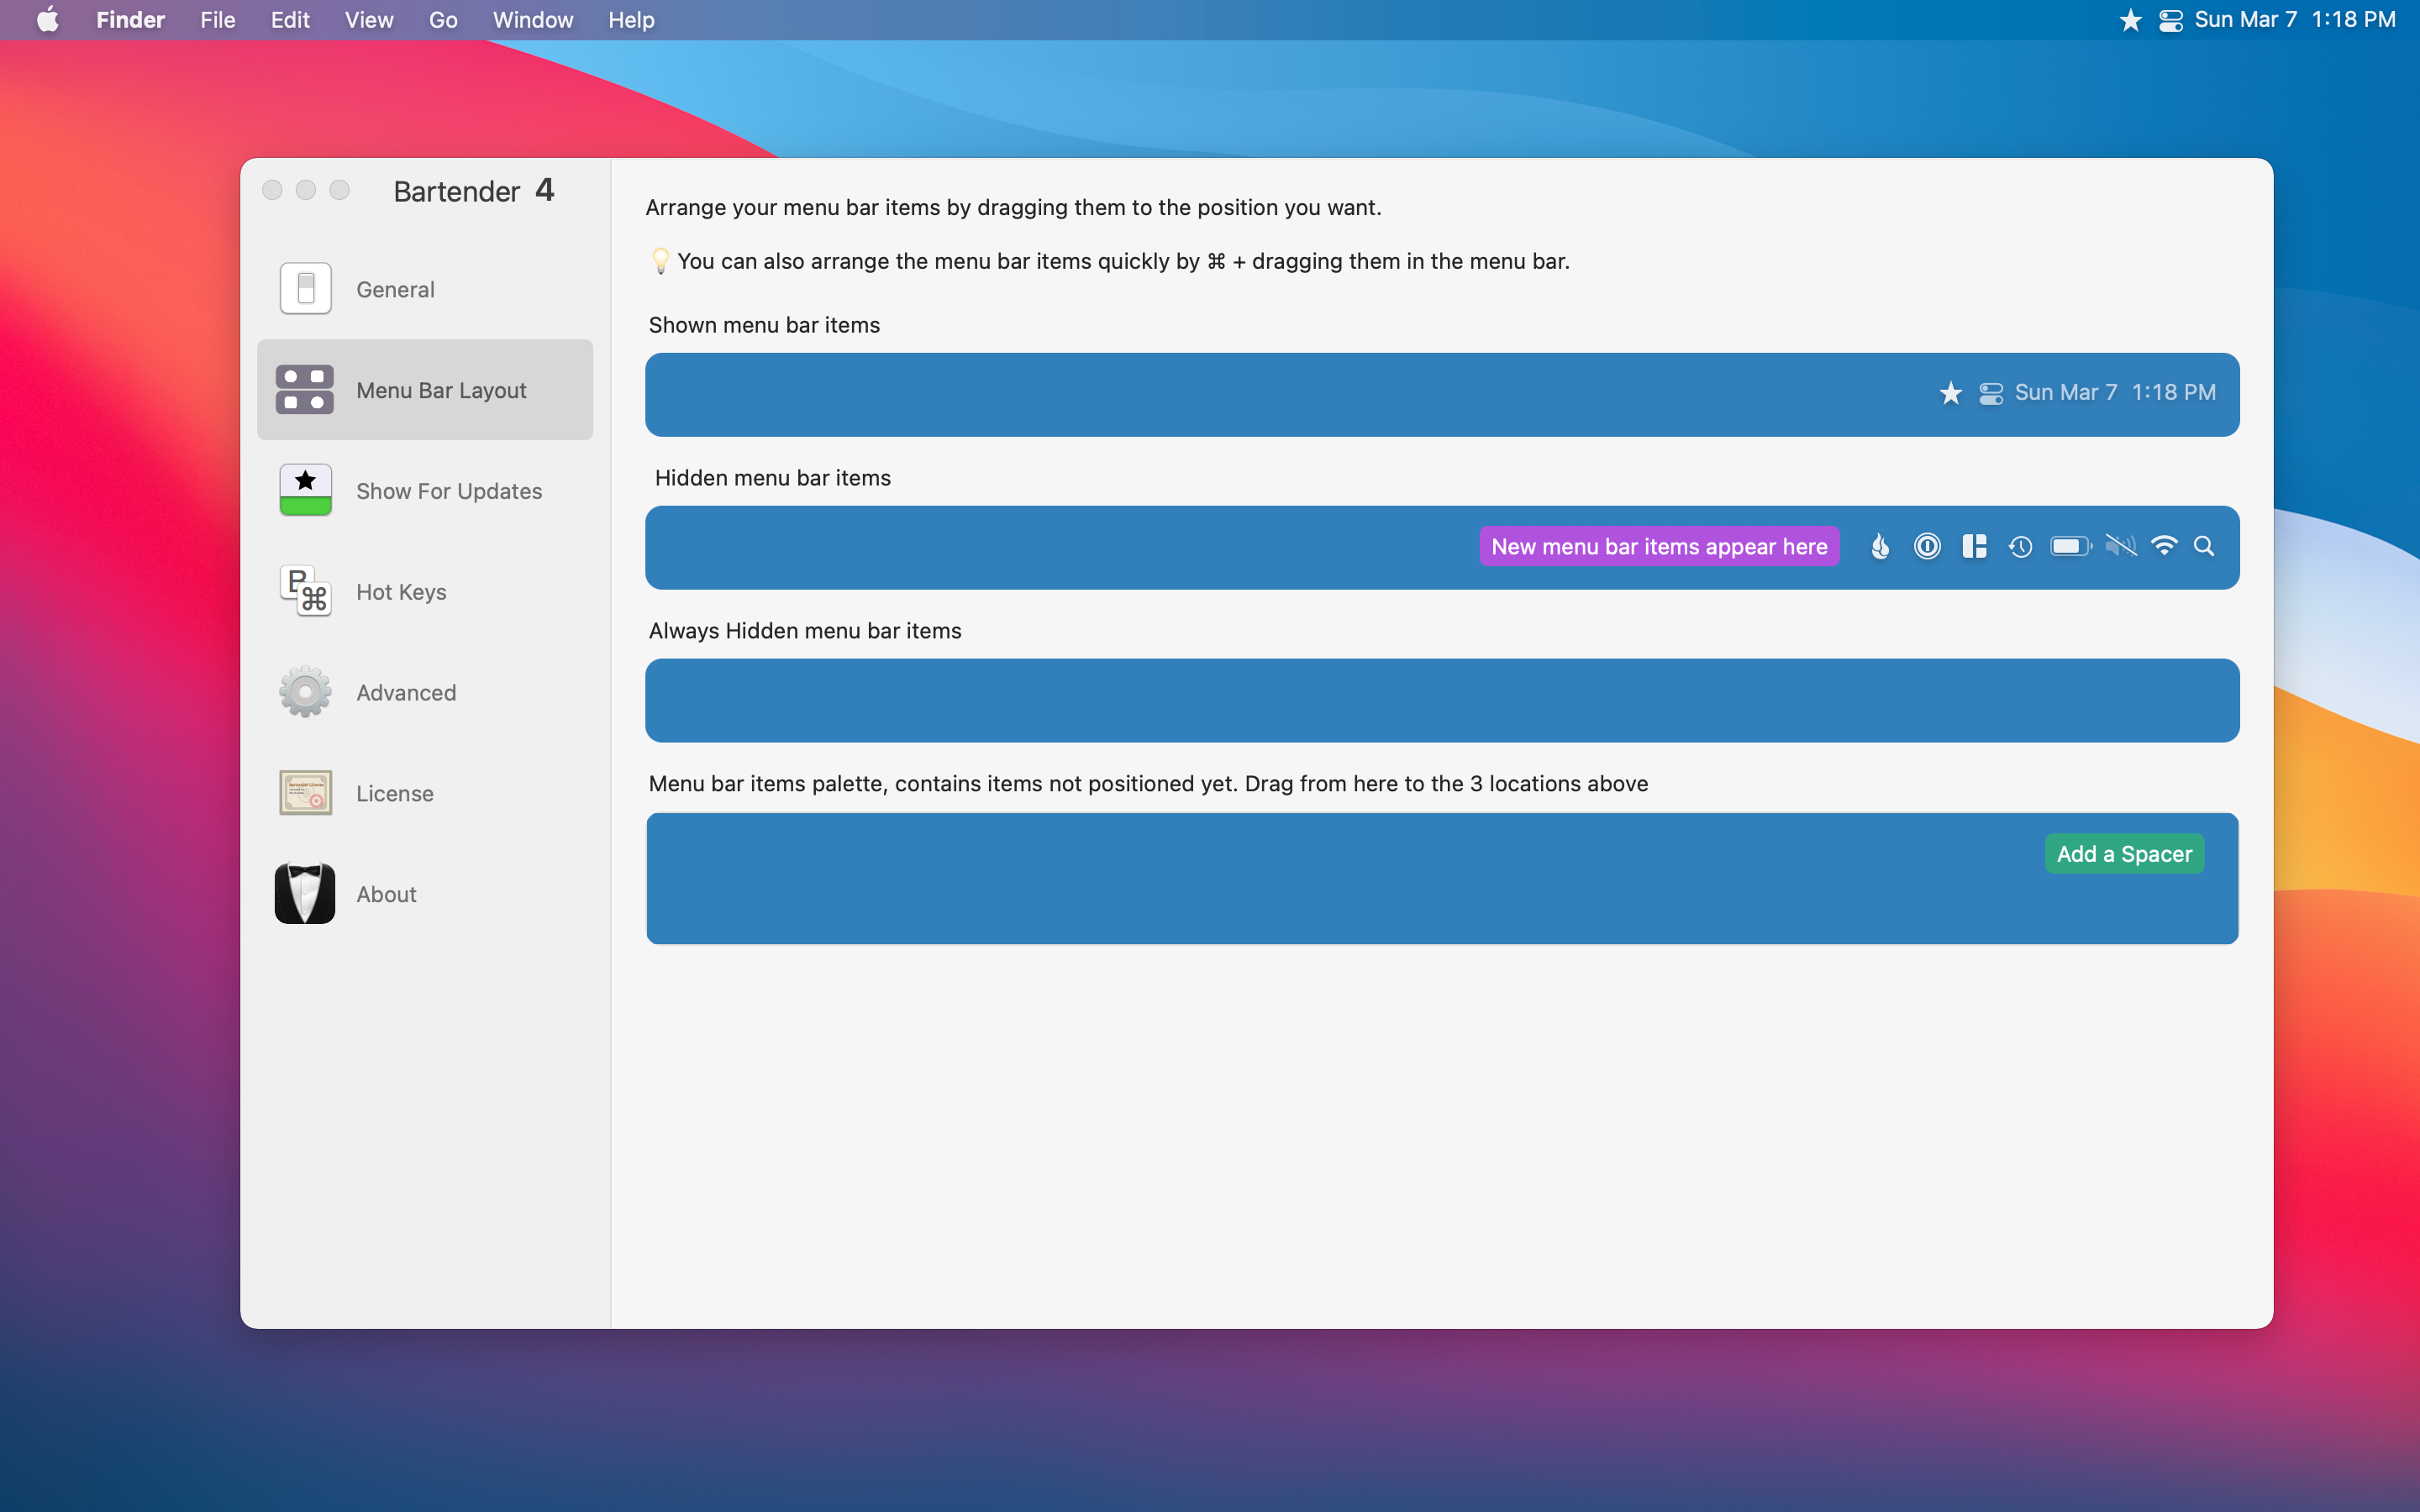
Bartender 4 ($15)
This utility has been around for ages. It was around way before I even got into using a Mac, my computer of choice. The utility is precisely what its name says; it is a “tender” of the menu “bar.”
All of my menu bar icons for apps or other utilities on my Mac. What once looked like this:
Now it looks like this:
Like I said before, this had been around for a while. The simple feature is that it hides all of your menu items to give you a cleaner-looking menu bar. You also have a few options on what you want the main icon to be, like a pair of sunglasses, three dots, or a star.
Bartender doesn’t stop there, though; you are also given an abundance of options to choose from in how you want each menu icon to be. You can either hide specific menu icons in Bartender, not visible at all, or always visible.
Bartender 4 is available for macOS Big Sur and is currently in a Public Beta so it is free whilst still in beta. Pretty soon though it will cost $15 once the beta is not longer active. For anyone using an older macOS version Bartender 3 is still available to purchase.
It is a simple tool that provides a simple solution that keeps your menu bar clear of clutter. I know many have a ton of menu icons and find Bartender even more useful to manage and maintain.
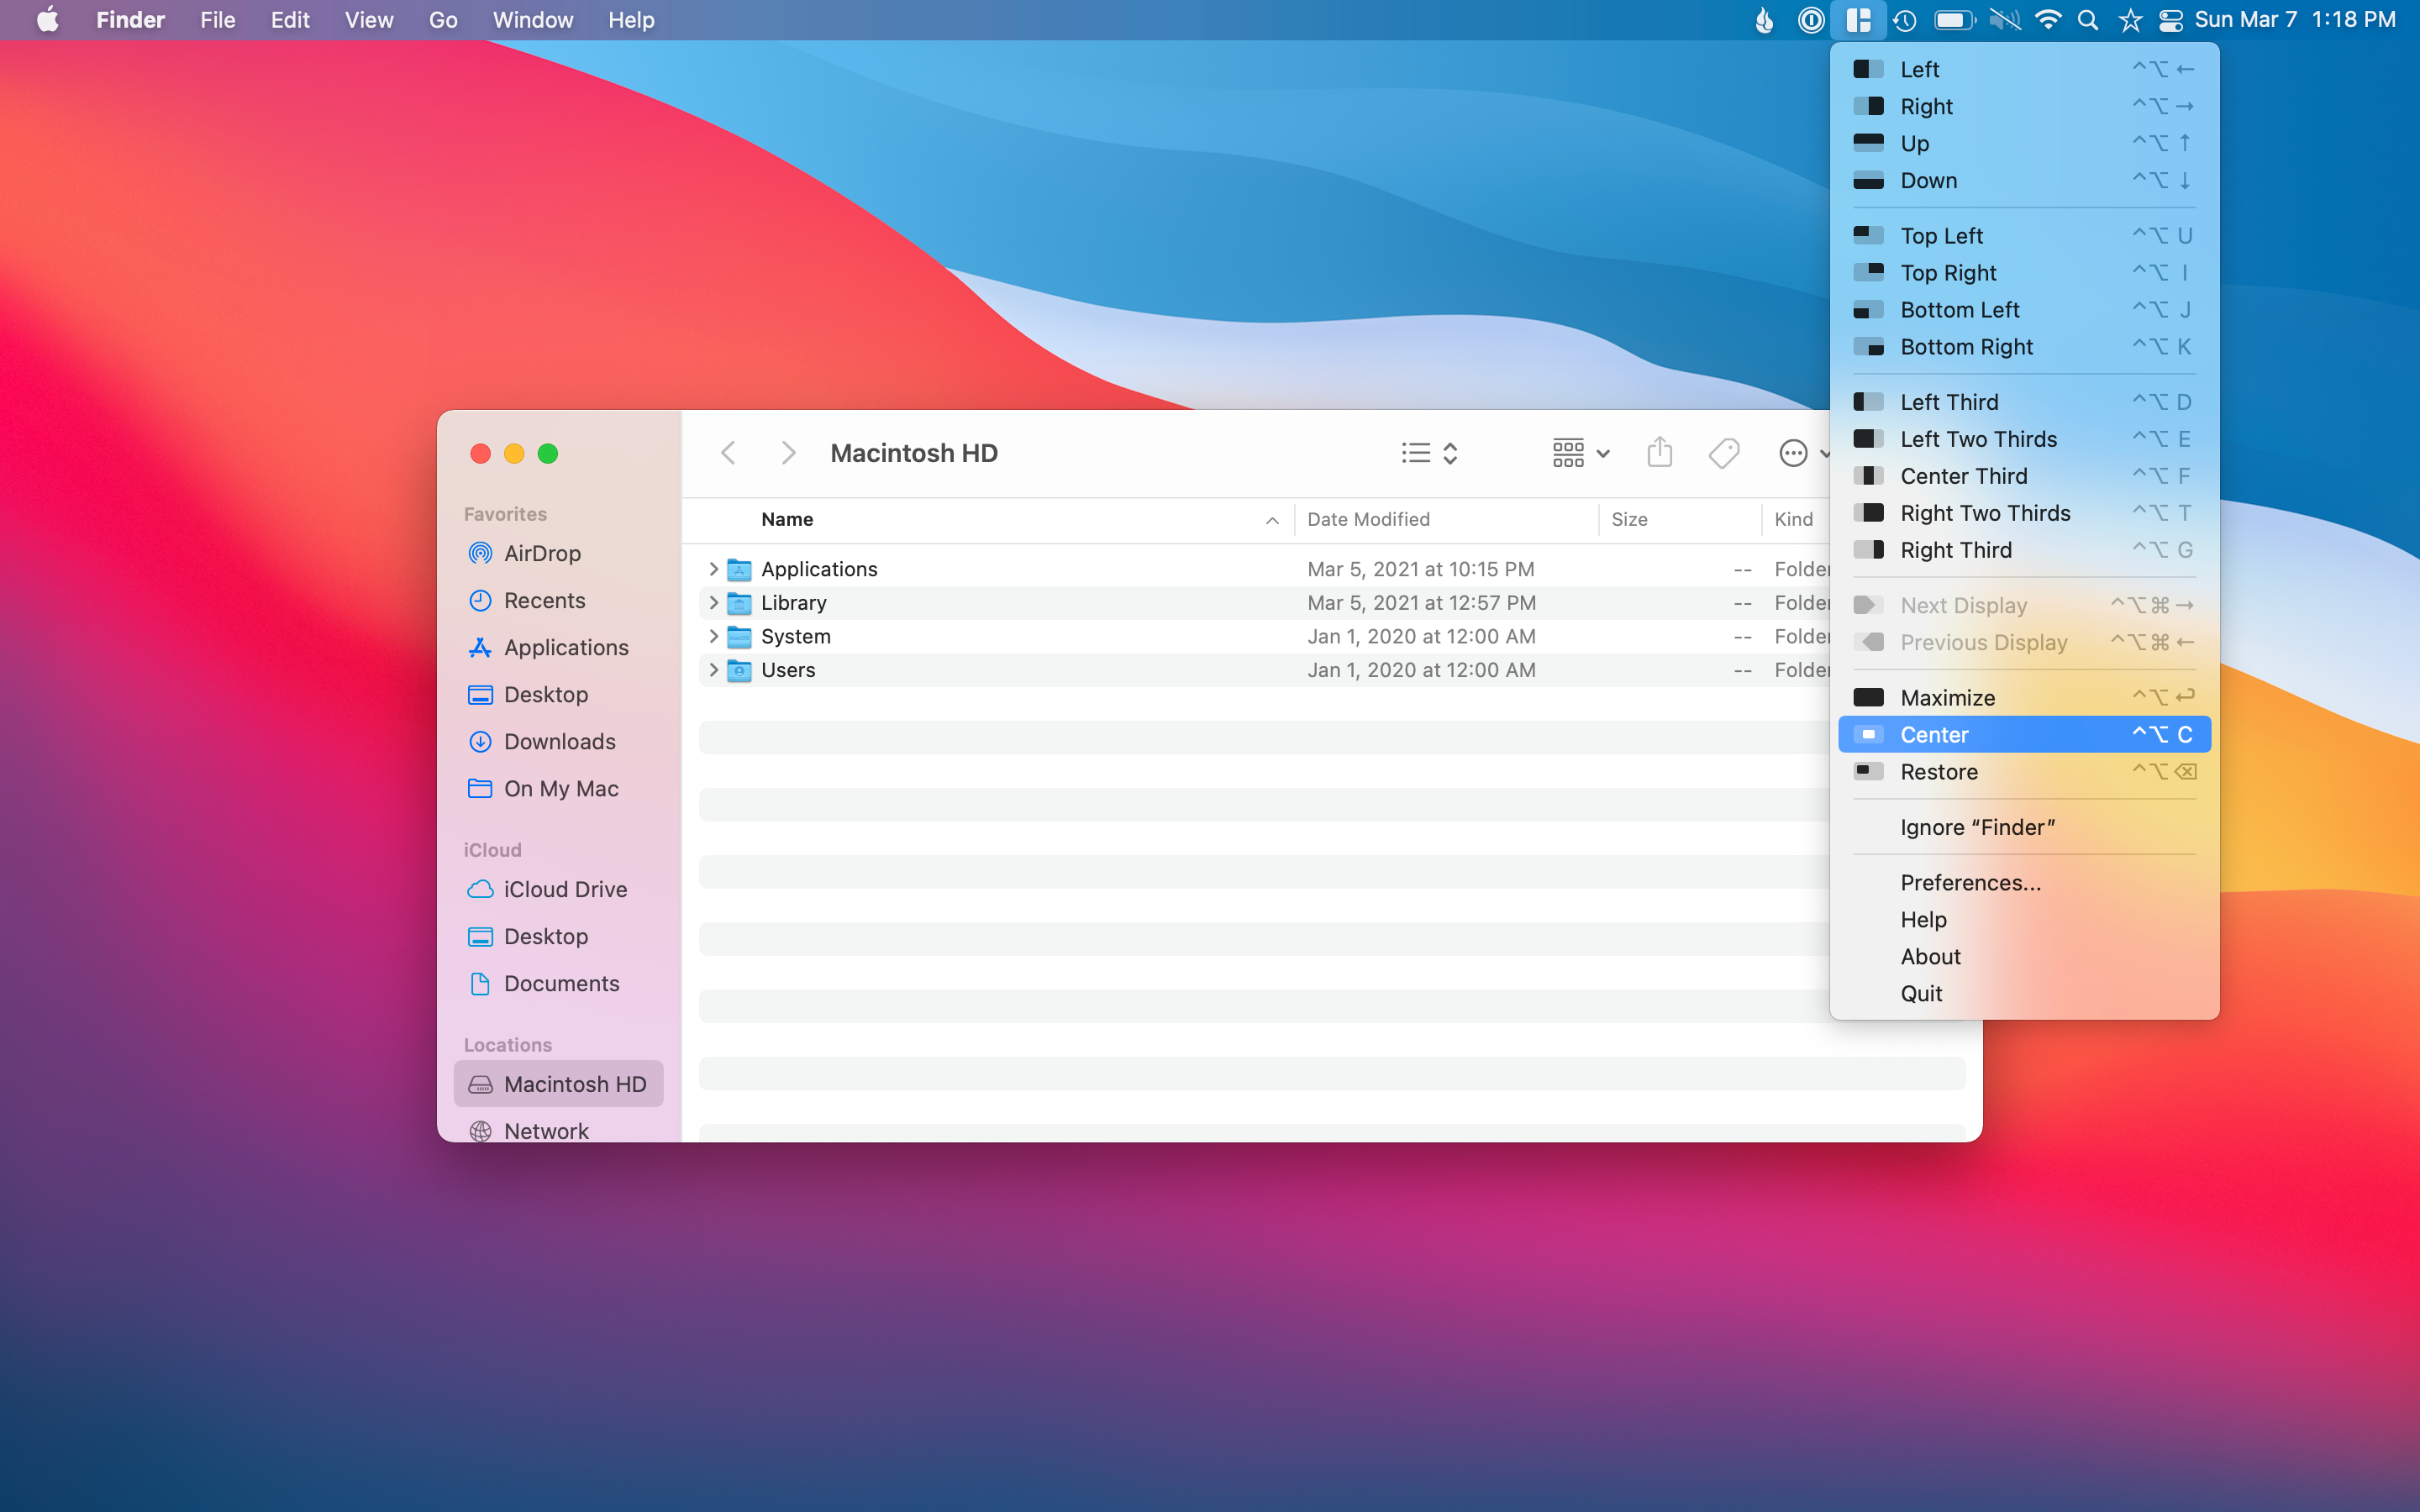
Magnet ($7.99)
Window management on Mac is something you either love or hate. Many love iPadOS because window management is very structured and limited. On the Mac, you can overlap windows for days which can create chaos for some.
Magnet tries to help with window management on the Mac by providing options to move and resize windows with a simple click. A few examples of how I like to use Magnet would be wanting to center something on my desktop or make the app go full-size without entering full-screen mode.
I like to maximize Ulysses instead of going full screen, so I have the menu bar at the top always visible for me. All it takes is for me to open the app then click the maximize option in Magnet. On a separate desktop, I like to have Twitter taking up one-third of the screen and email taking up the other two-thirds of the screen.
Magnet is excellent if you like to have many windows and want a quick way of organizing or resizing without having to drag the windows around manually.
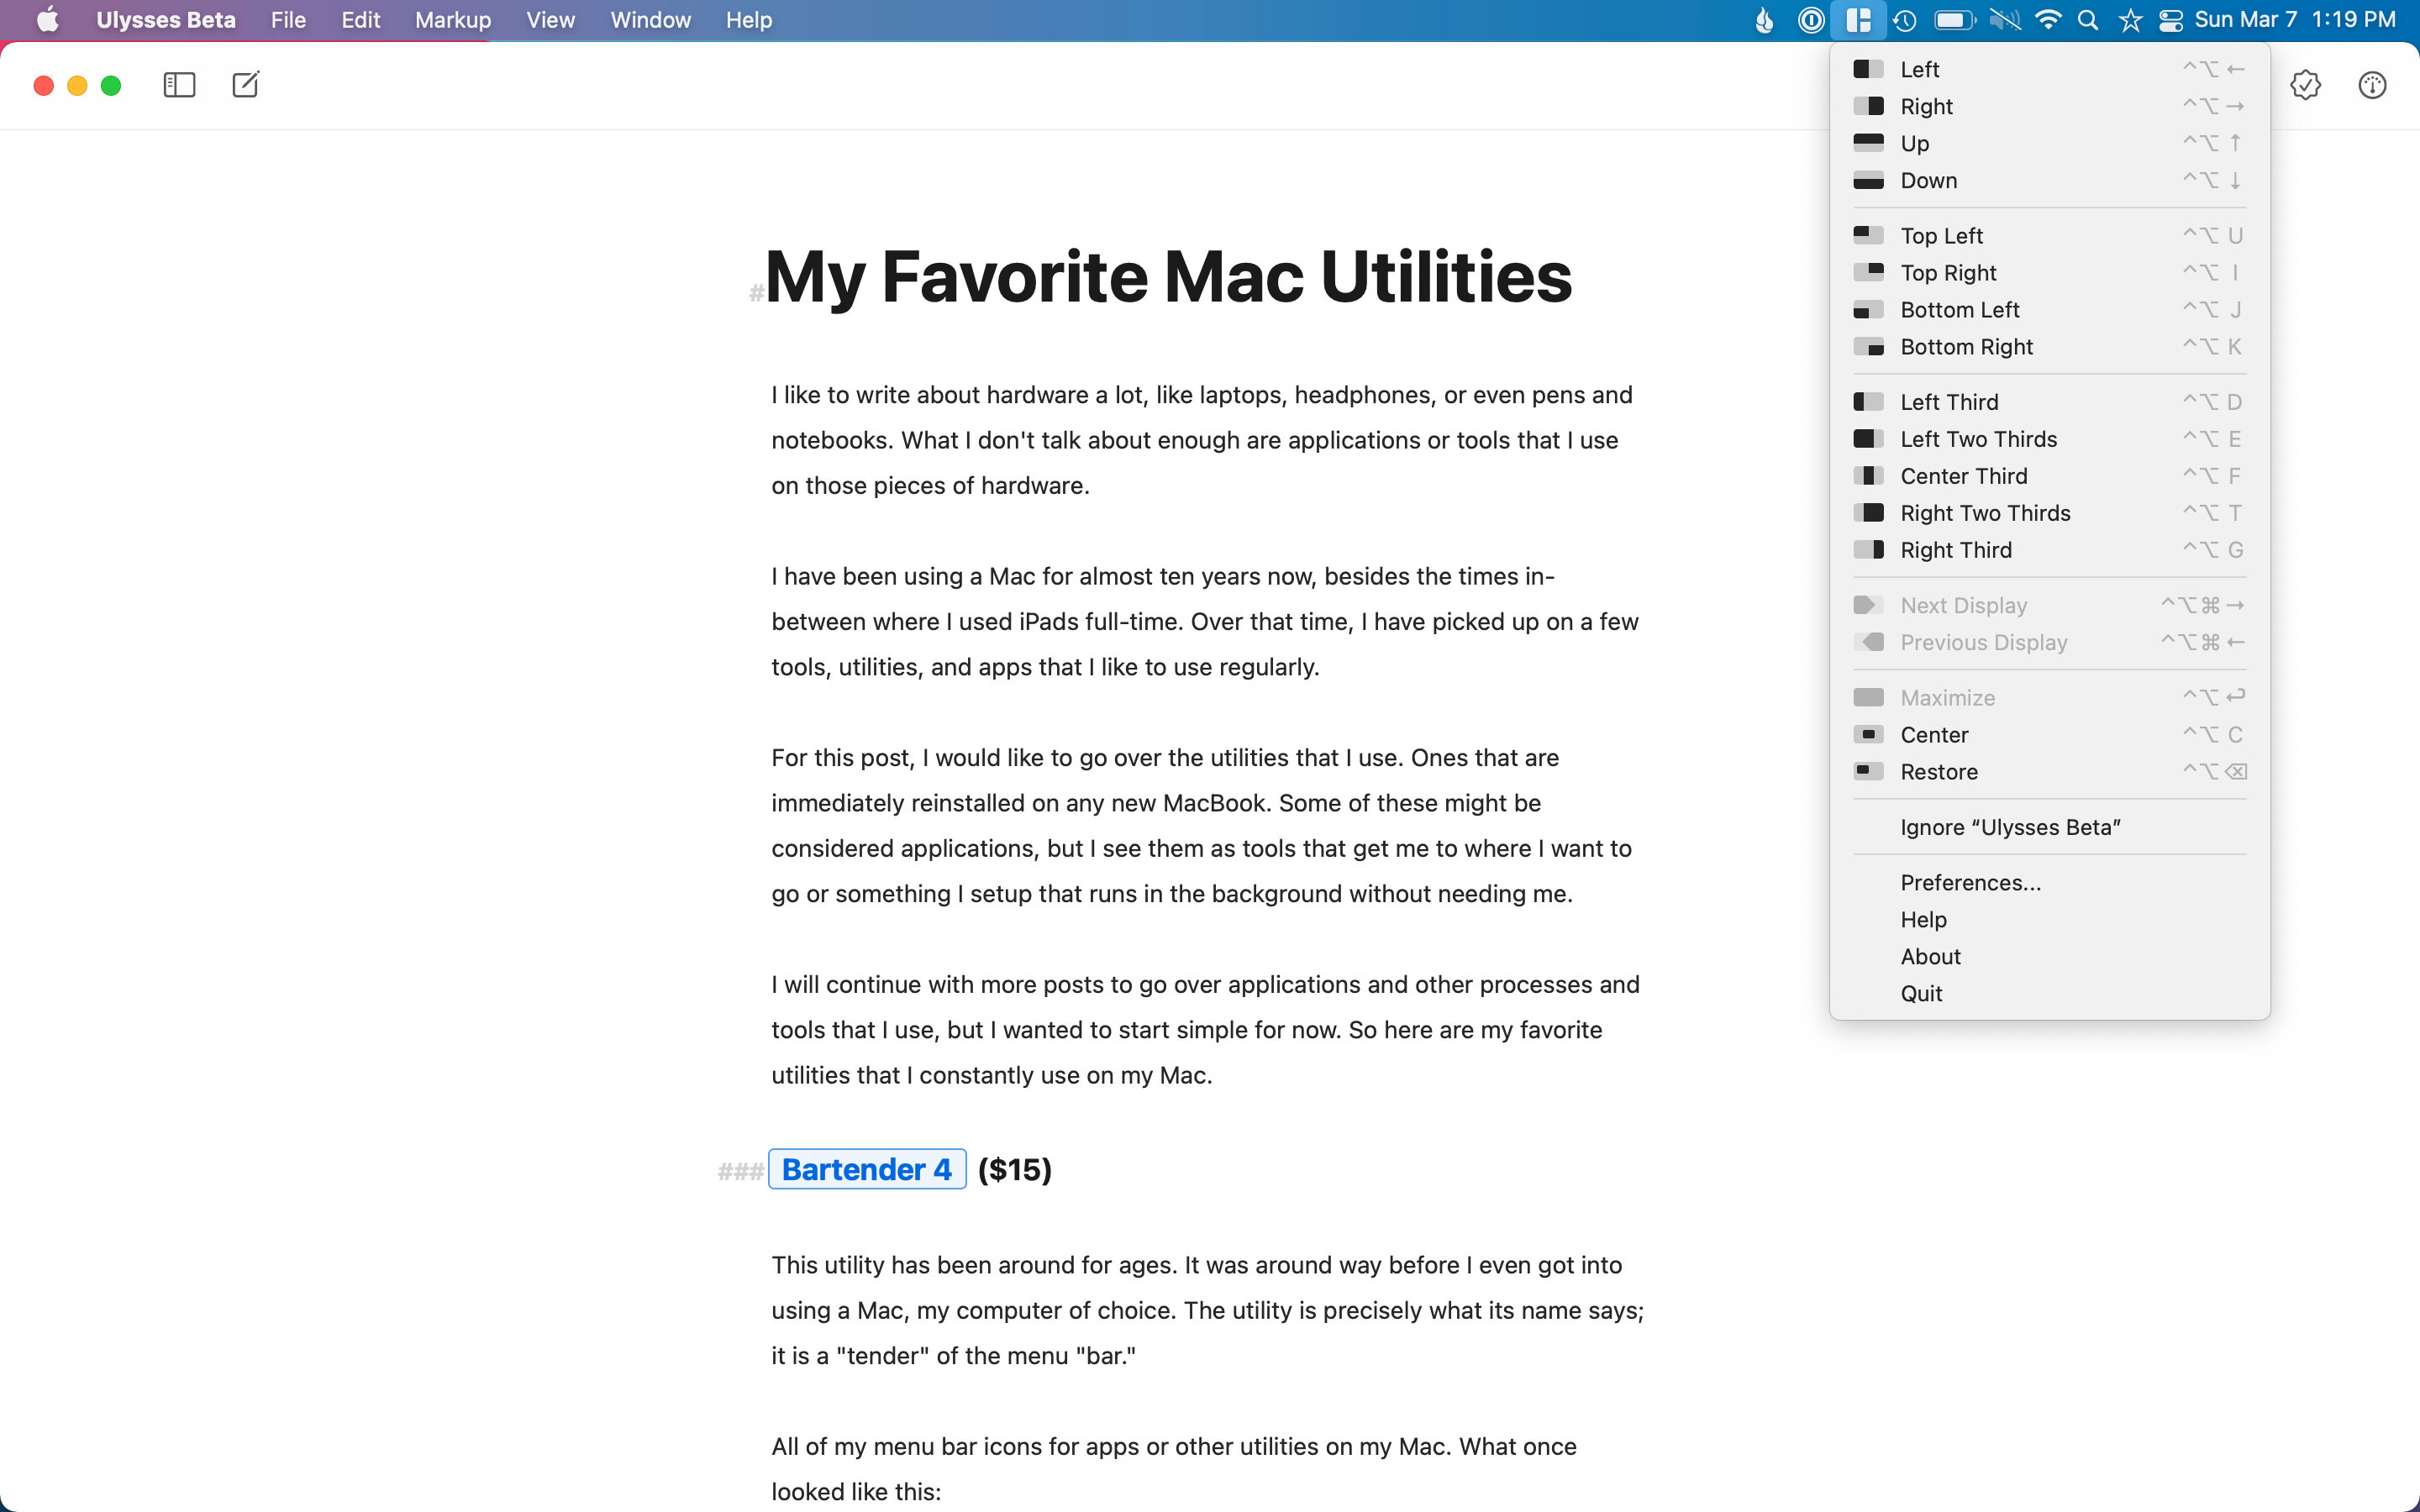
Spotlight (Quicksilver)
Once I memorized the command+space bar keyboard shortcut to bring up Spotlight, I have since only launched apps this way and have set my dock to auto-hide. I know Spotlight has been around for a while, but it wasn’t just a couple of years that I started using it more.
What is excellent about Spotlight is that you can do more than just search for apps and launch them. You can search for documents, emails, music, and even search the web for items straight from the text box.
For many years Spotlight was limited in what features it provided, limited to only search for local things. But over time, it has grown and now offers many things that Quicksilver has done for many years. Quicksilver also provides automation and other features, but for a simple search tool for everything on your Mac, Spotlight does the job well.
1Password ($6.99 monthly, $59.99 annually)
Passwords are a pain to keep track of, especially when you want to have safe passwords for each one of your online services. Apple’s iCloud Keychain is excellent, but I wanted something that I could share with my wife.
Not to go too dark, but this utility and the next are things that give me peace of mind not only in case of my devices breaking but if I were to disappear somehow. Death is never something many like to think about but, for me, knowing that I have certain things set up for my wife to handle a difficult situation with a bit more ease is worth it.
1Password offers a personal vault for me to keep track of all the logins I could ever think of; it even lets you set up two-factor authentication for logins that I have set up and will copy that one-time password when using 1Password on my iPhone and iPad.
The best part is shared vaults, though. The fact that my wife and I have all of our more crucial logins in this shared vault is so useful, not only if something happens to one of us and we need a login only one of us has, but if I need to login to something of hers when she can’t log in herself, I have access with a simple click.
Backblaze ($6 a month)
This utility is purely just peace of mind. I have always had Backblaze on my and my wife’s MacBook as soon as I learned about its existence years ago. It is a cheap offsite backup service that just works.
For many years it offered unlimited backups for a single computer and any external drives plugged in for $5 a month. It has recently upped that price to $6, but I still think it is a killer deal. I not only have my over 300 GB of data on my MacBook Air backed up, but I also have my 2 TB of data on my external hard drive backed up as well. All for only $6 for me.
Actually, it is possible to pay $6 for what I am doing, but I have also recently opted for another new feature that BackBlaze offers for an additional $2 more. That extra feature is 1-Year Version History, which safeguards any deleted data for up to 1 year.
So if I were to delete a file today accidentally and in six months realized I needed that file, Backblaze would still have it available in my back up to recover. They also offer Forever Version History, meaning that you can recover any file deleted ever as long as you are still a customer with them.
The Forever Version History is also $2 a month and charges $.005 per GB per month. If I were to opt into the Forever option for my wife and me, the total would cost about $12 for the standard base cost and $4 + $13.05 (2.7 TB multiplied by $0.005) total cost of about $30 a month.
$30 for 2.7 terabytes of data and Version History forever doesn’t sound so bad, but it is a little overboard for us. The $16 a month that we pay now for our laptops and 1-Year Version History is good enough.
It is an excellent option to be aware of, though, if you have a lot of data or have many family members that may benefit from long-term data recovery. Like some who have highly sensitive data, like a manuscript for a book that has been worked on for many years, want to ensure you don’t lose anything.
I have many other utilities that I use, mostly ones that come with macOS, but these are the ones that I really could not live without. My heart isn’t dead set on these specific versions either, since my primary needs are what these utilities offer.
Keeping my menu bar organized and windows managed, the ability to search for anything on my Mac with a simple keyboard command, a password manager, and reliable offsite backup software are the things that make my Mac the best that it is.
There are other utilities out there that can do similar things, but these are the ones that have worked for me consistently for years. The ultimate goal of having utilities on your Mac is to make it better — for your computer to work for you and not the other way around.
So if you have had desires to make your Mac more useful, I would check out some of the utilities I listed above or any other tools that may fit your needs more. The most crucial part is that it does not get in your way but just works for you.